This summer, Artur and I bought our first home. We had been looking for over a year and dreaming for more than that.
We knew that any house we bought would need some remodeling. With our budget, Artur’s skills, and what we know about real estate, buying a fixer was the best investment for us. Plus, we aren’t turn-key kind of people. We wanted a fixer. In July, we got the keys to our dream fixer.
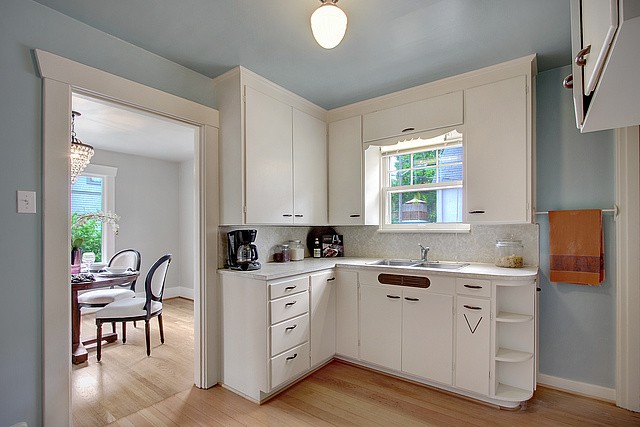
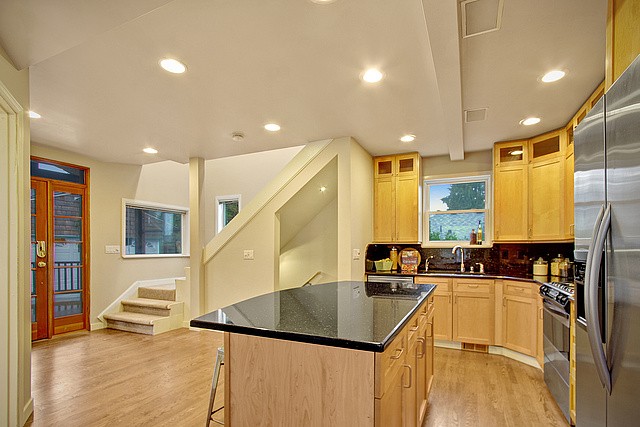
Refinishing the hardwood floors was at the top of our new-house projects’ list. Most of the house already had a mix of red and white oak flooring. It was in amazing shape considering it hadn’t been refinished in at least 15 years. The living room and the kitchen were the only rooms that didn’t have hardwoods. The living room had some very, shall we say, “dated” green carpet and the kitchen had a mix of hardwood and linoleum.
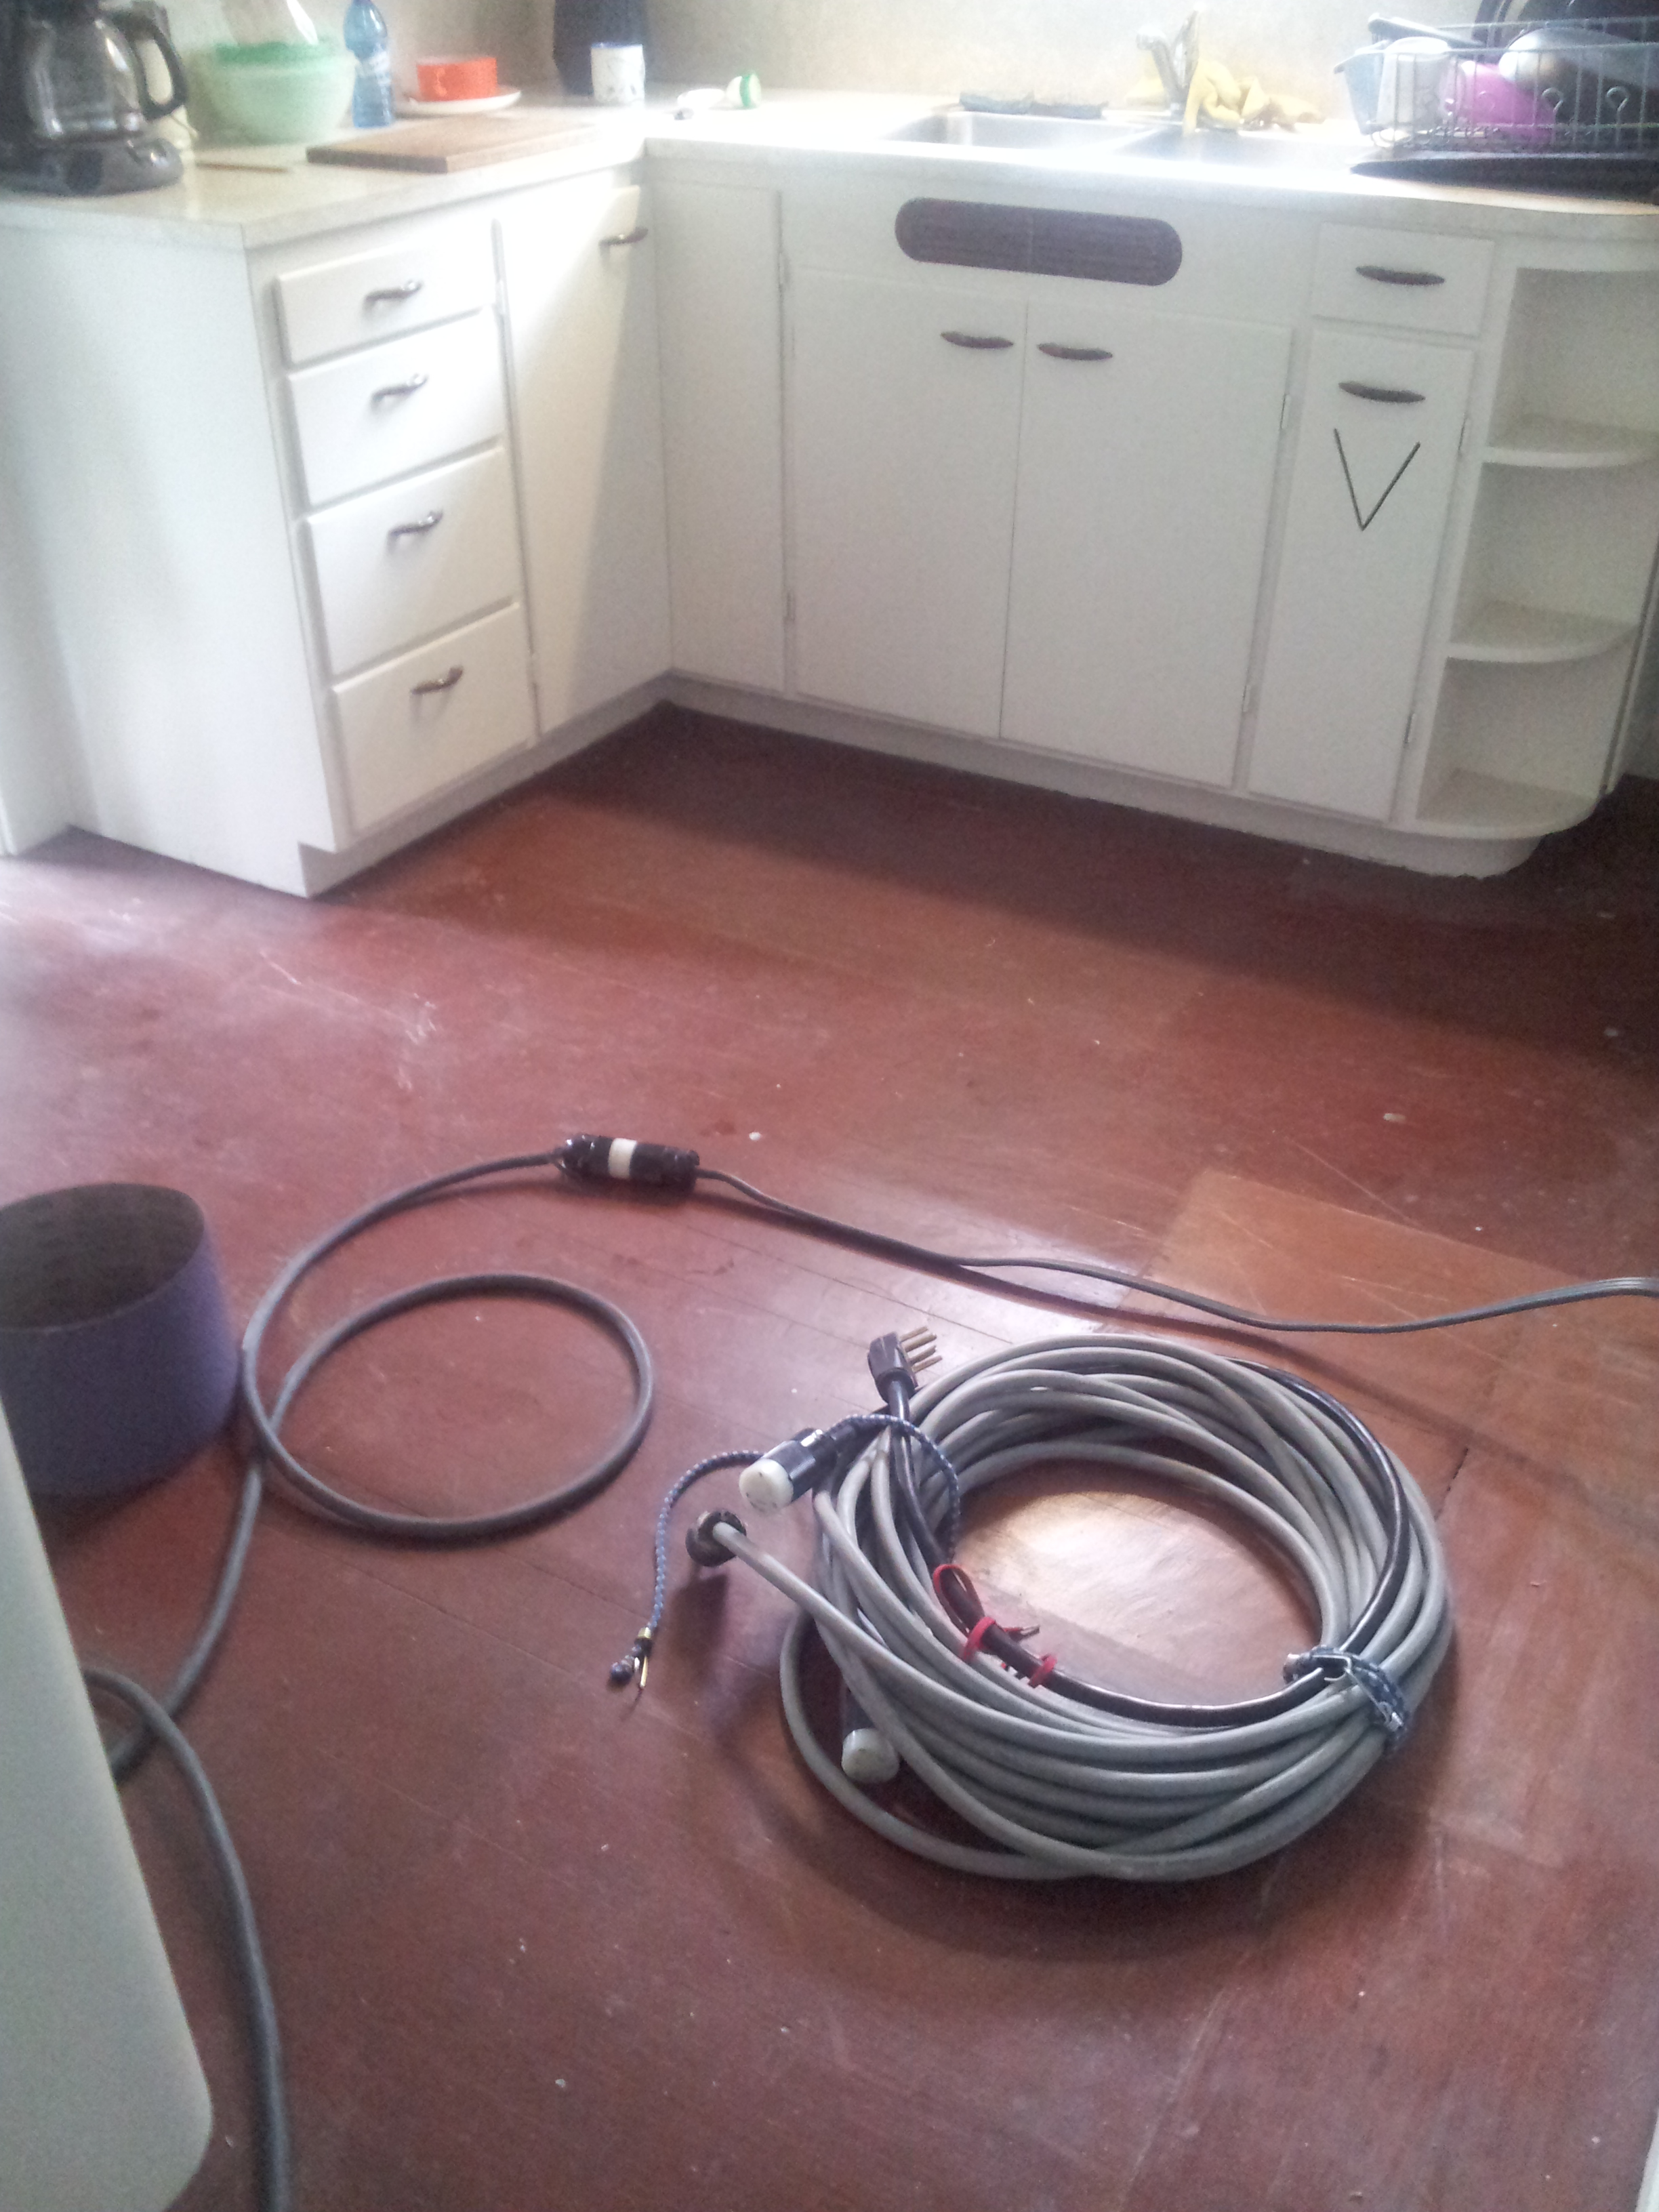
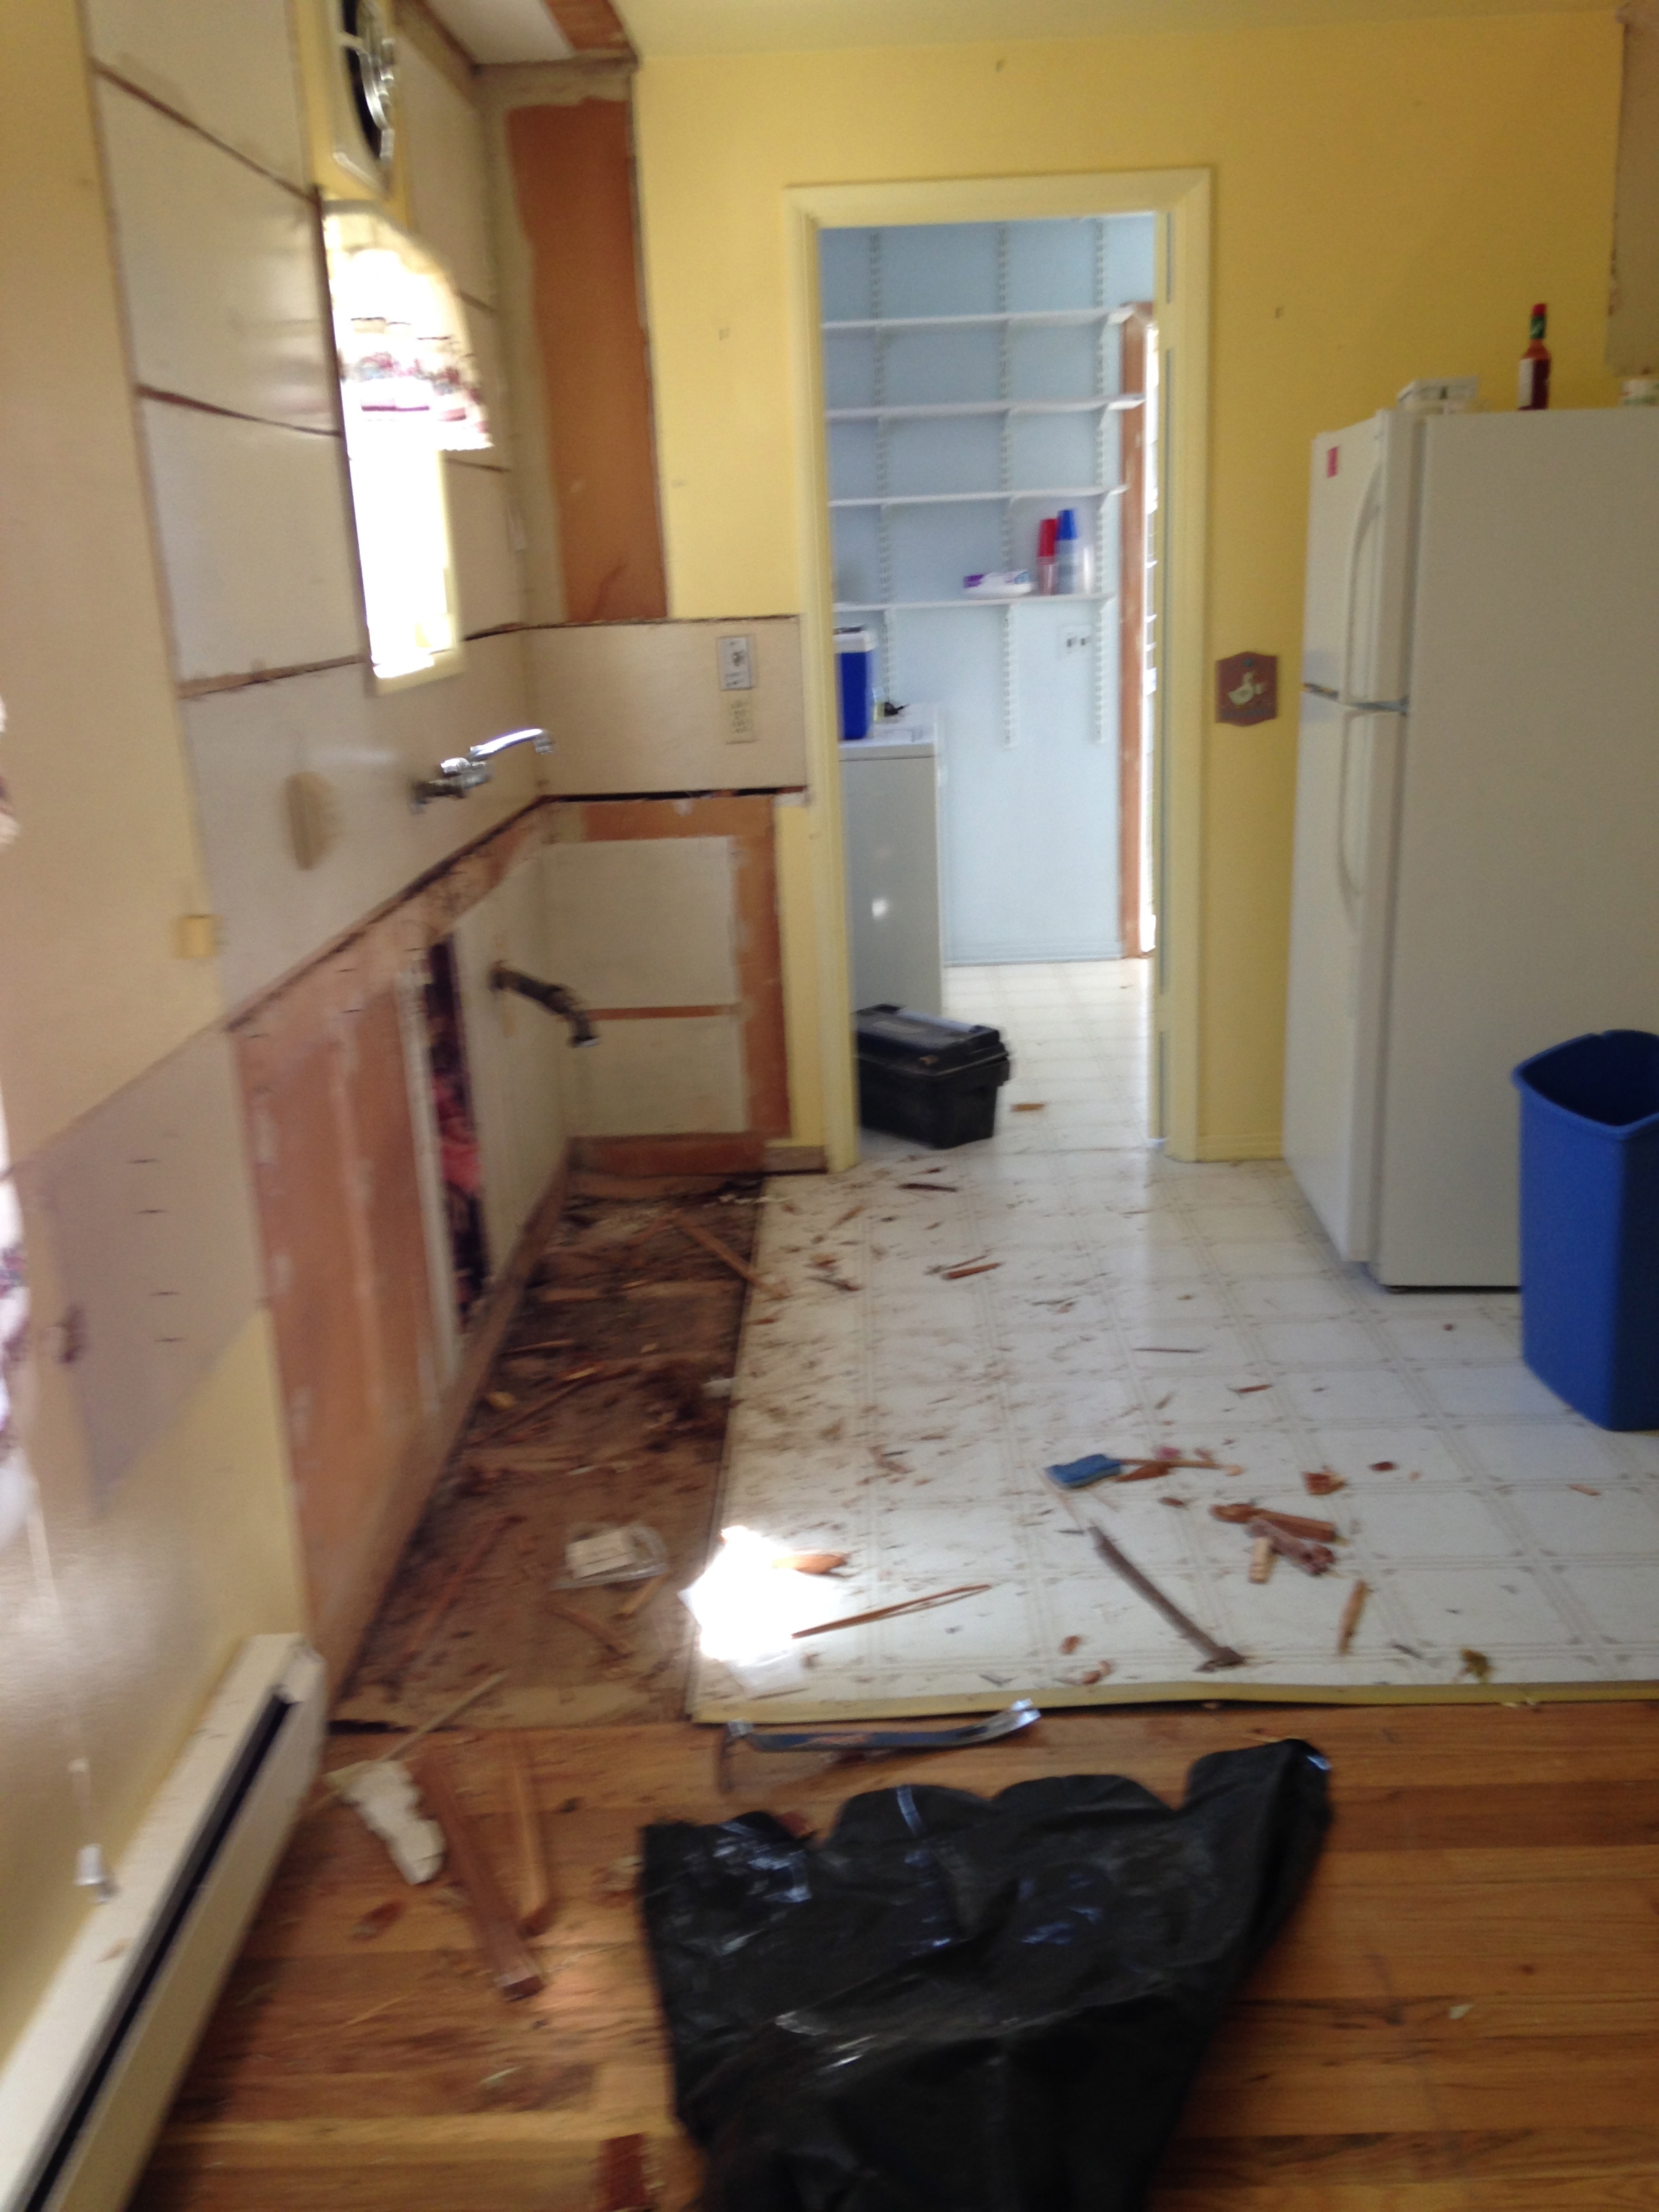
Kitchen before:

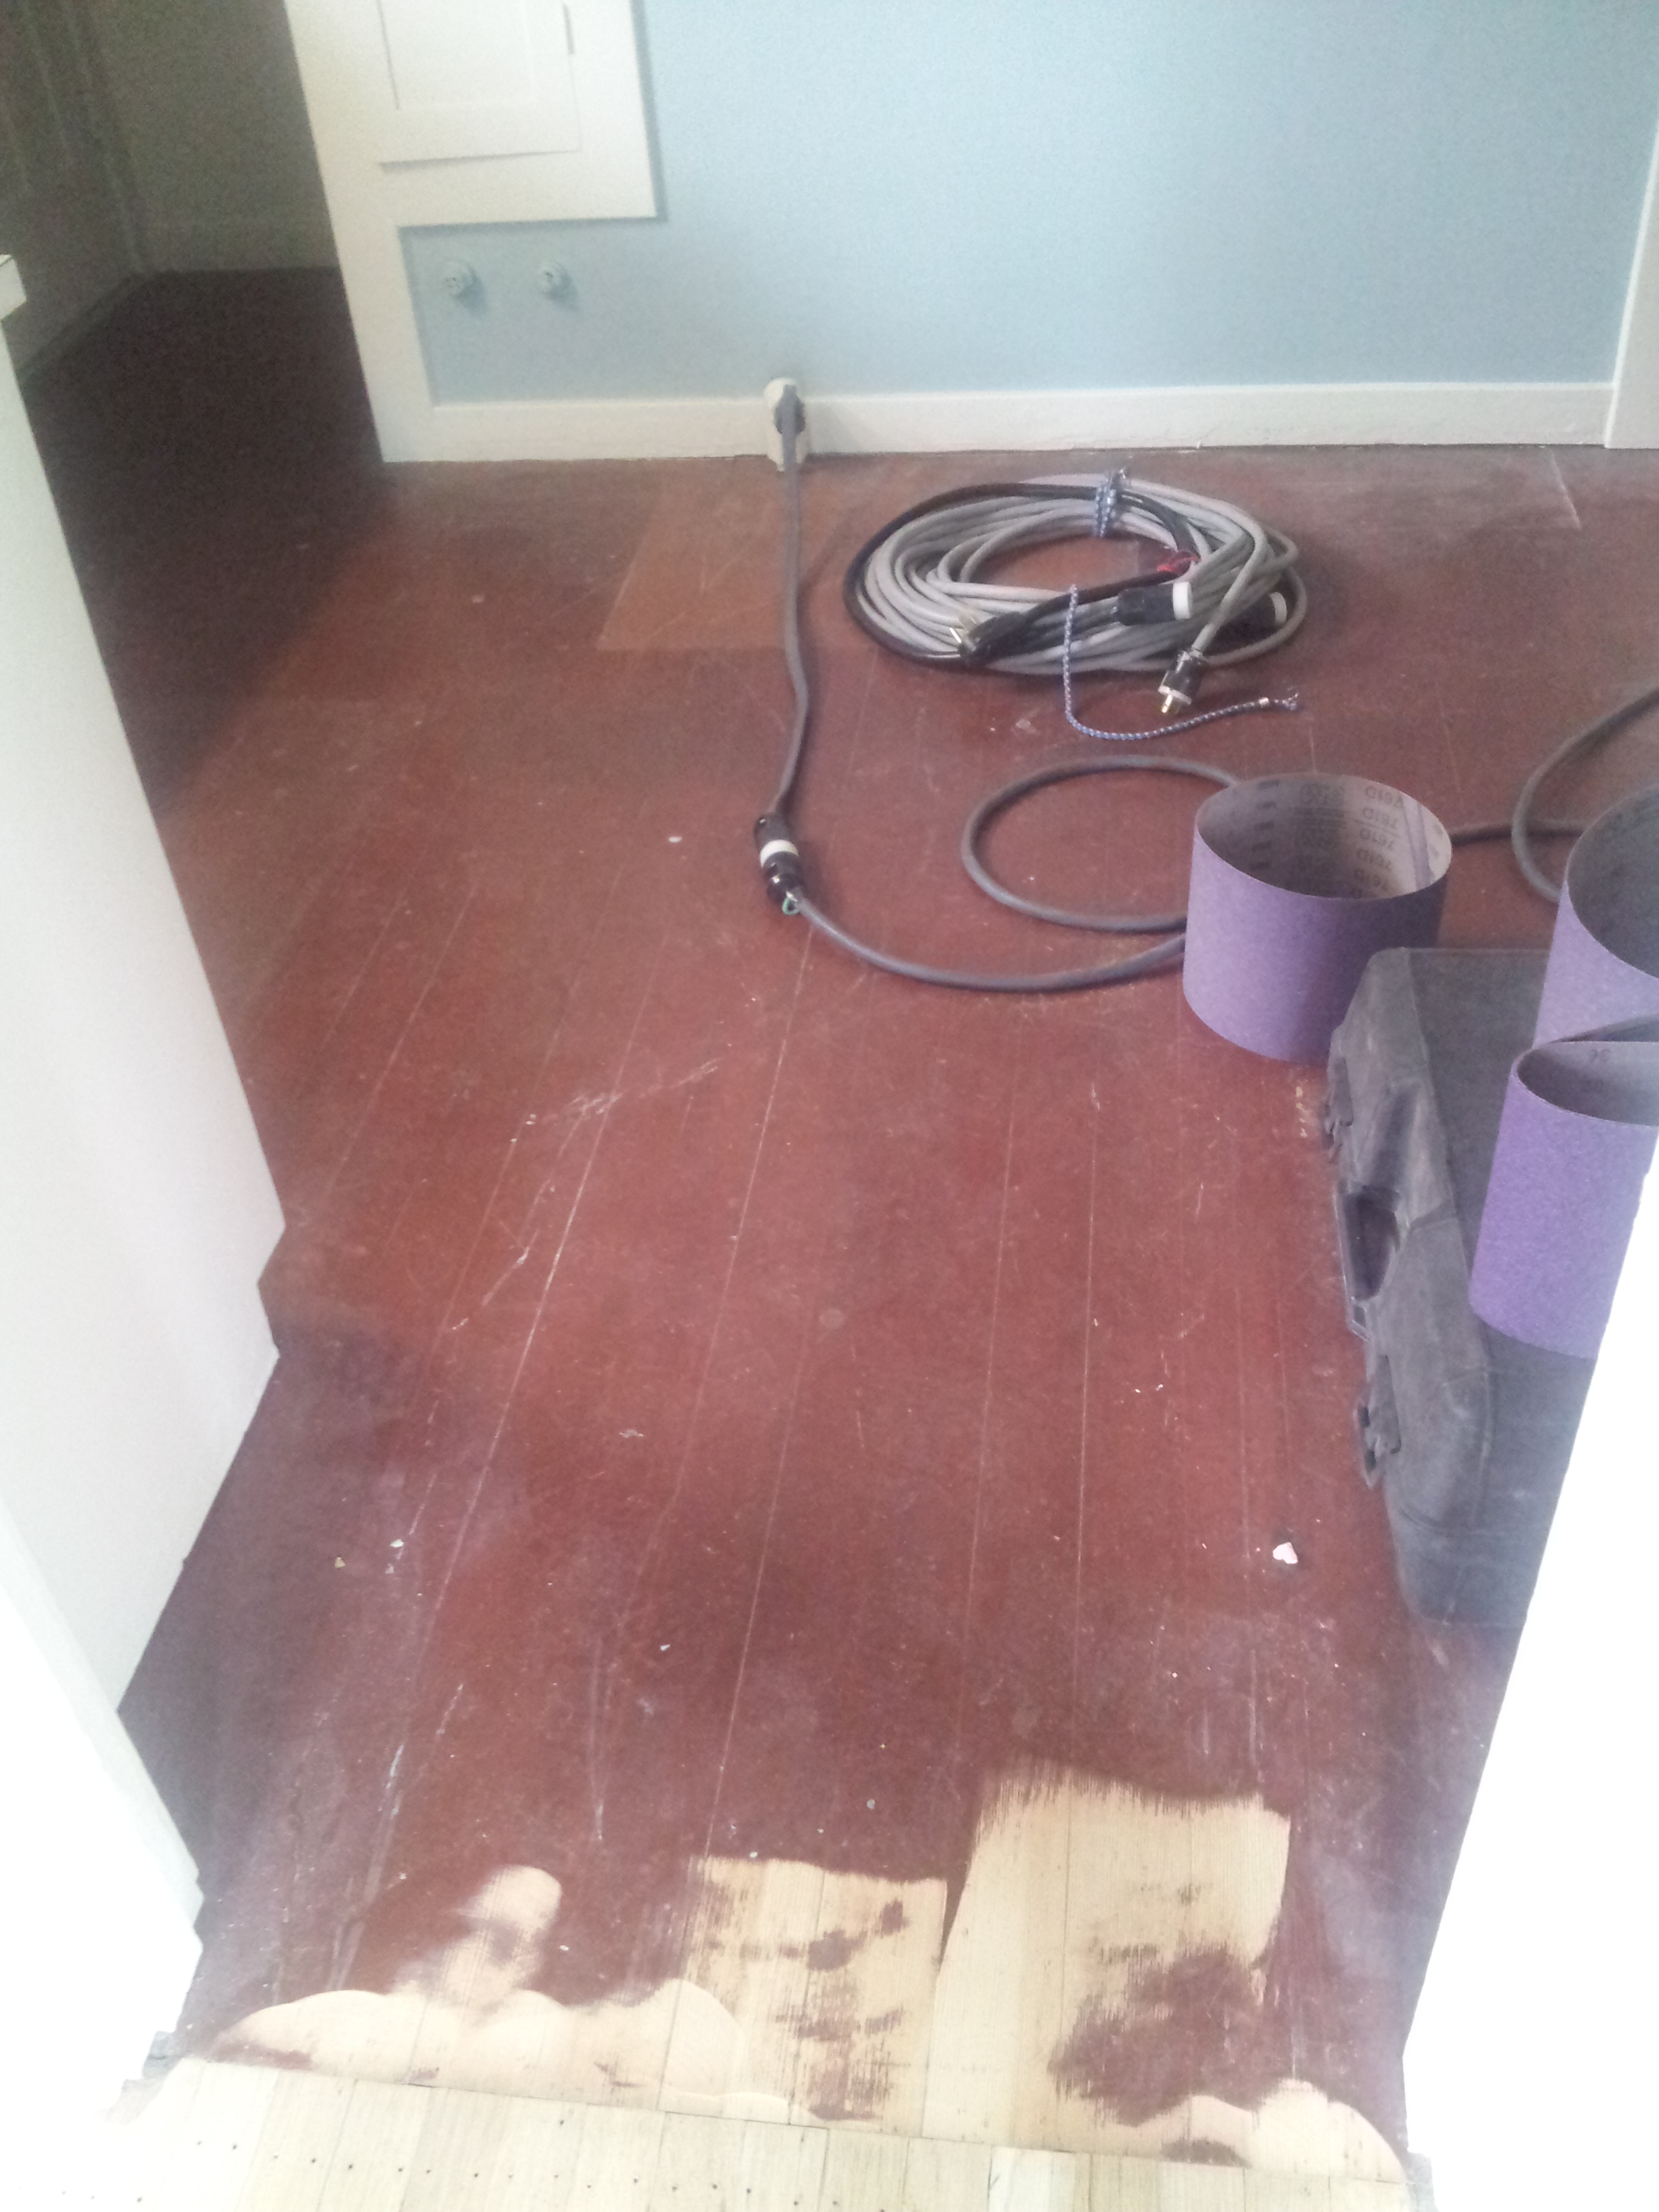
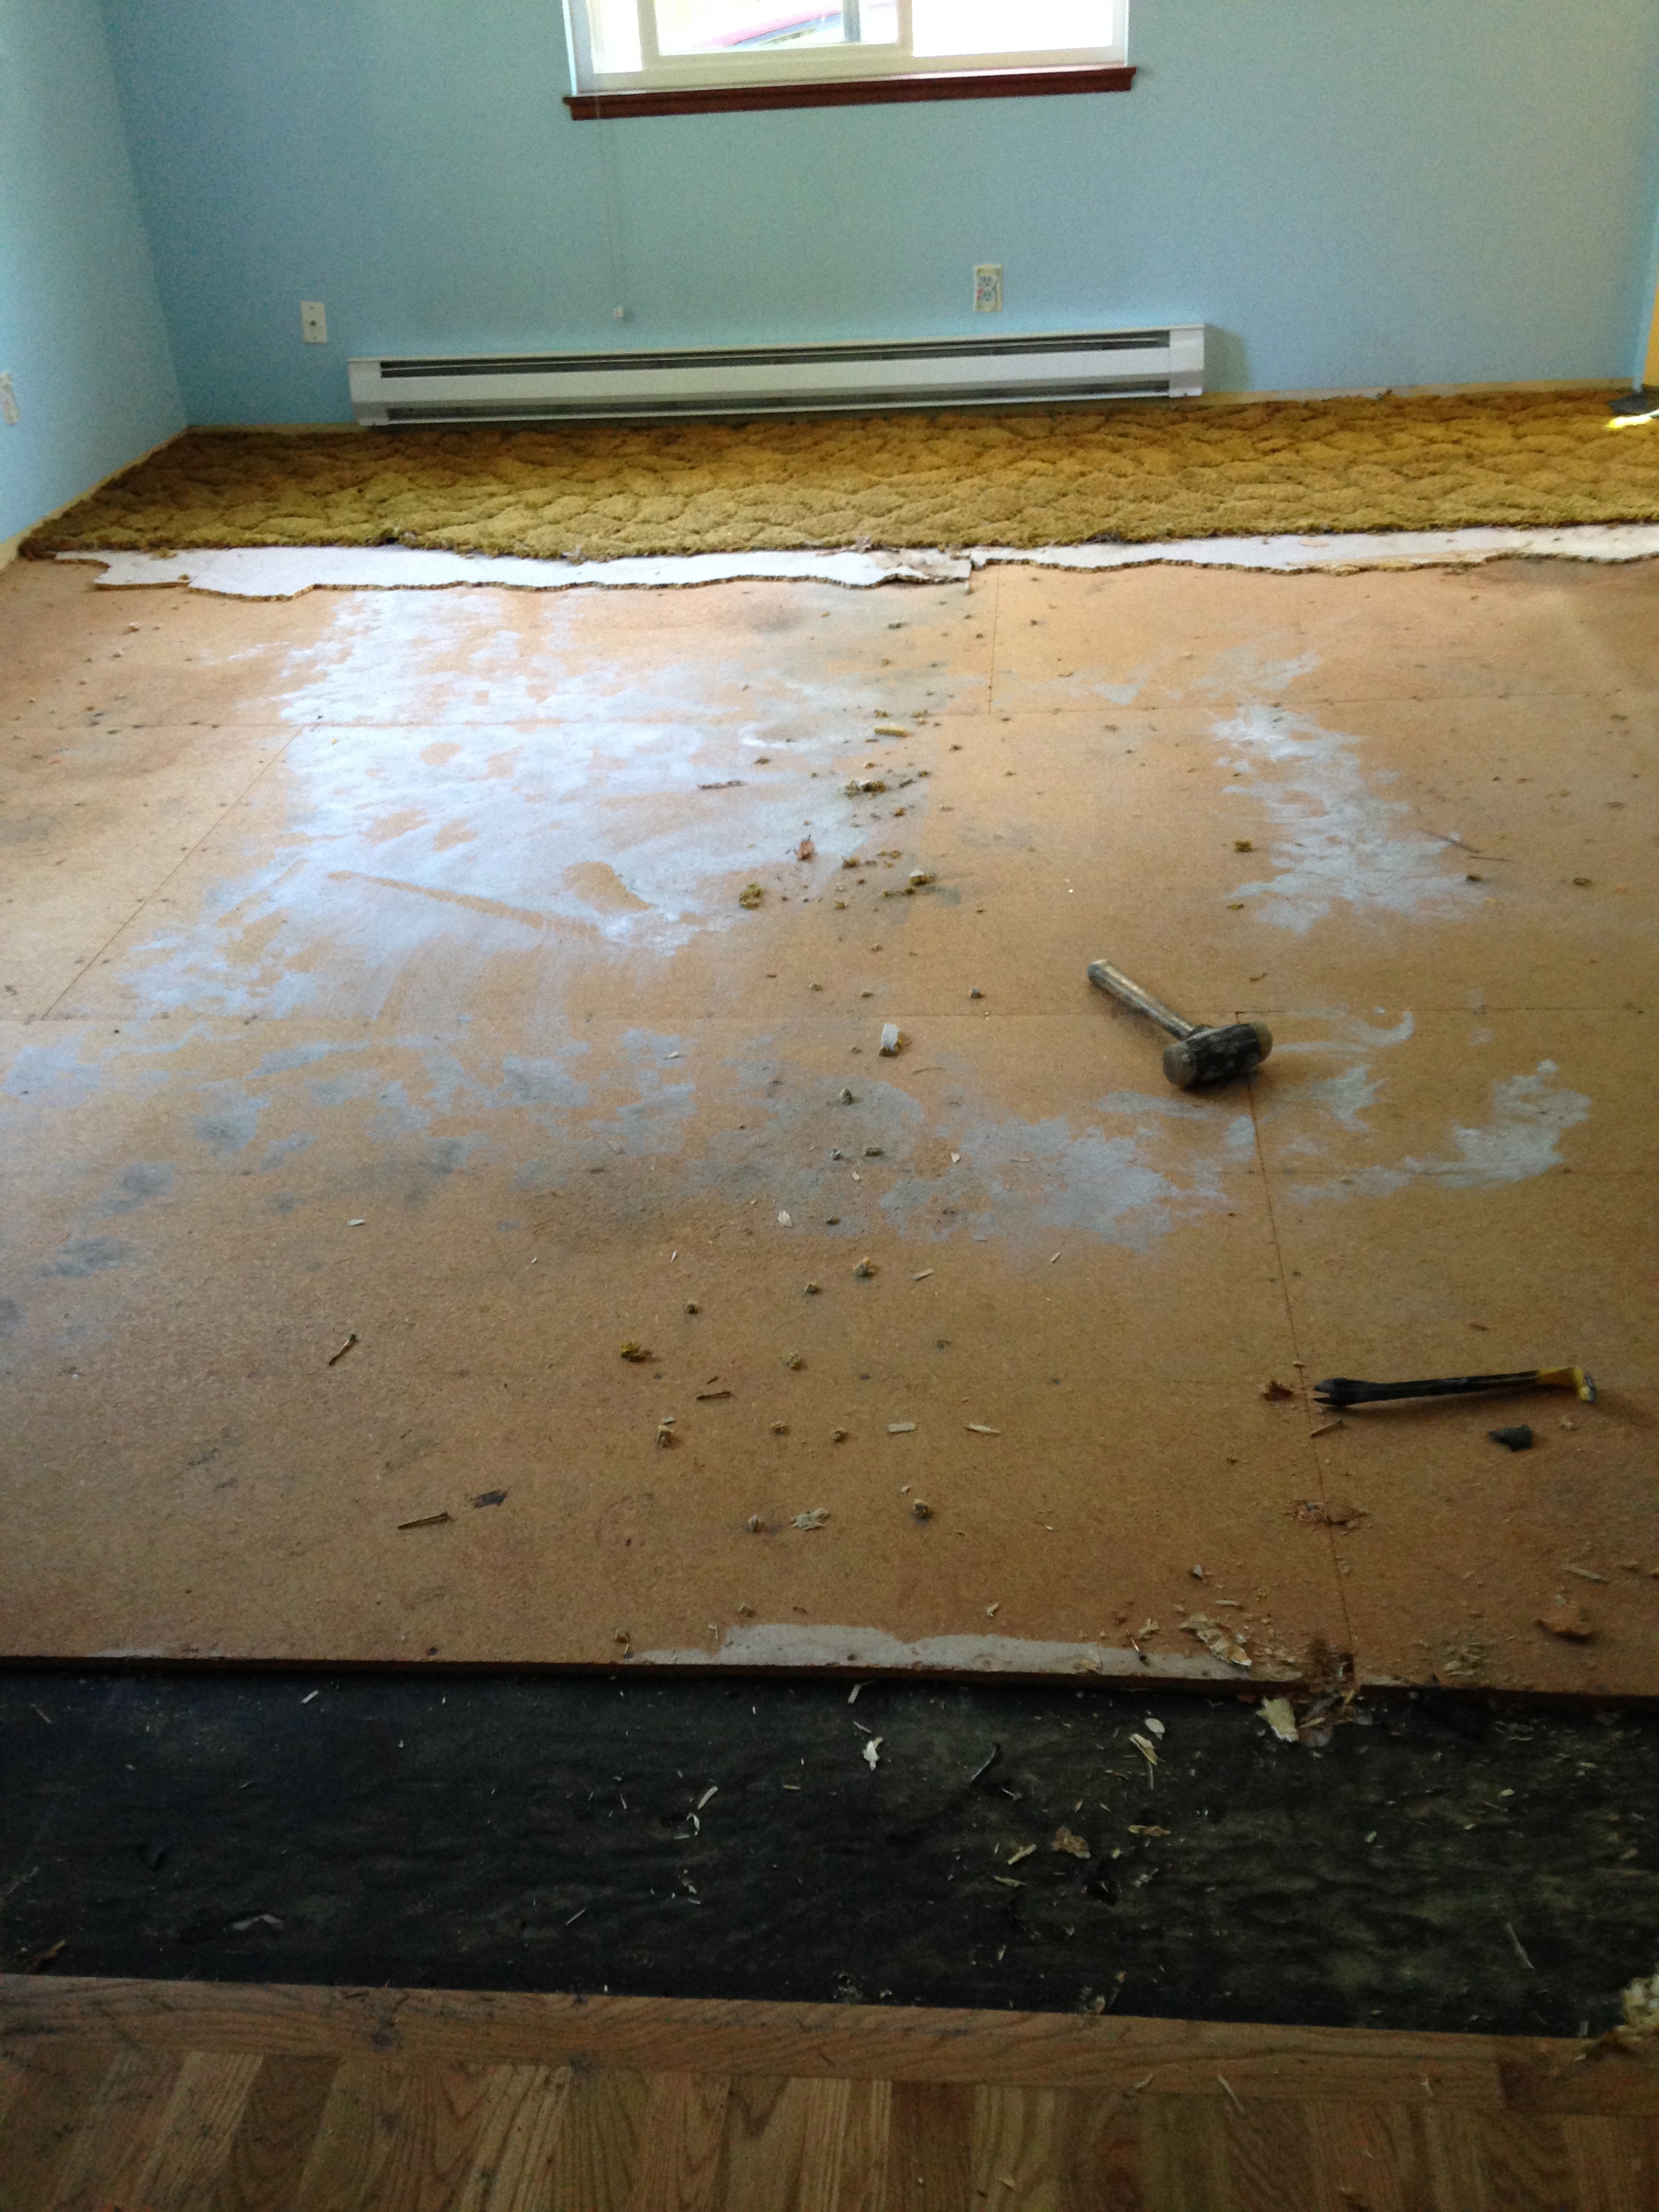
Living room before:

To bring in a more cohesive look to our home, we decided to pull up the carpet and linoleum, install a new mix of red and white oak to match the existing floors in the rest of the house, stain all areas a richer color and finish them with a Swedish Finish.
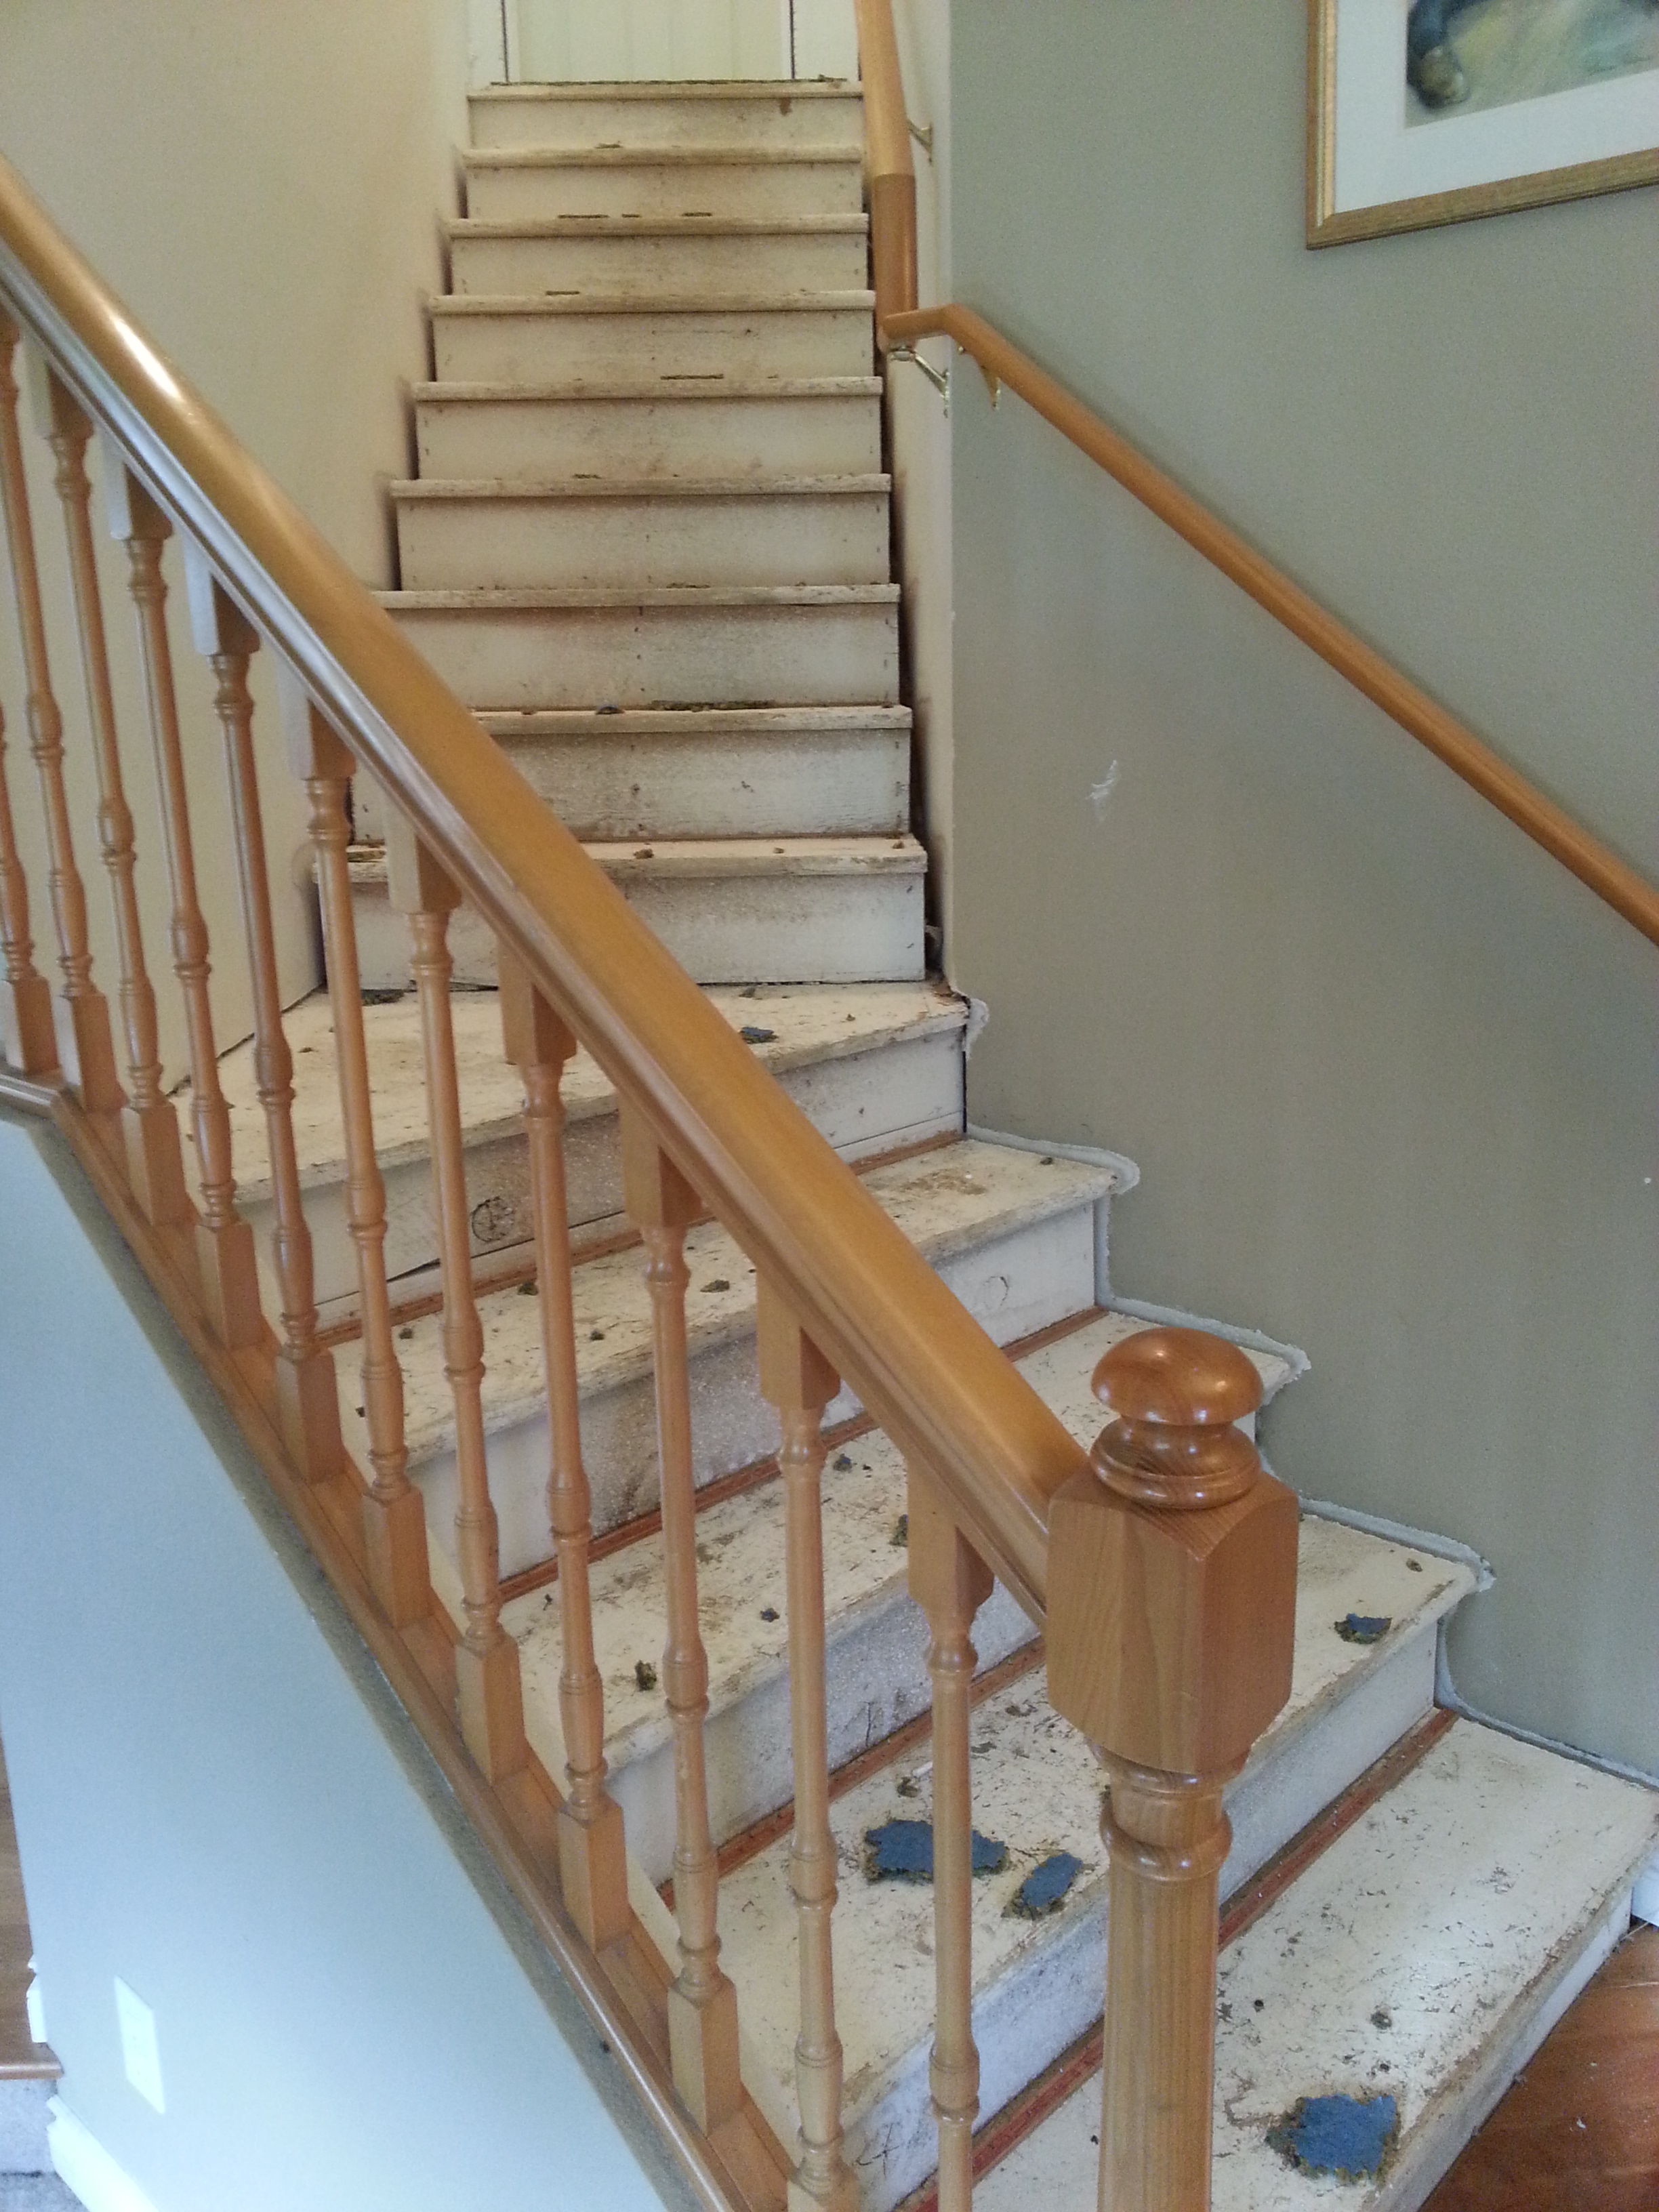
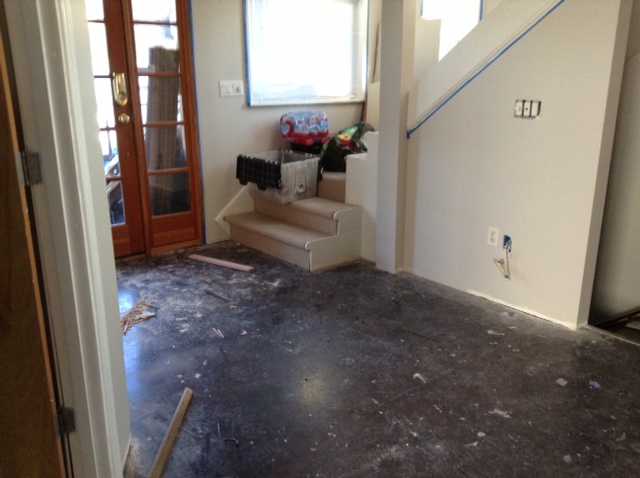
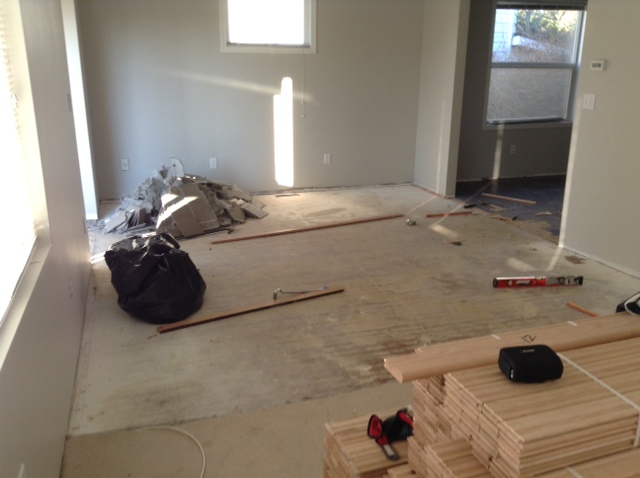
Here’s the living room mid-carpet removal. (You wouldn’t believe the amount of dirt we found under this carpet despite having been taken care of over the decades, further reinforcing our love of hardwoods.)

Here’s the kitchen mid-linoleum removal. (Sorry for the blurry picture.)

After the carpet and linoleum were gone Artur started installing the new wood we had ordered.
NOTE: Before installing new wood flooring it is very important to store the flooring in your home or installation space for at least a week prior to installing. Wood is very sensitive to moisture and heat and needs to acclimate to the new climate, lowering the risk of warping or bucking after installation.
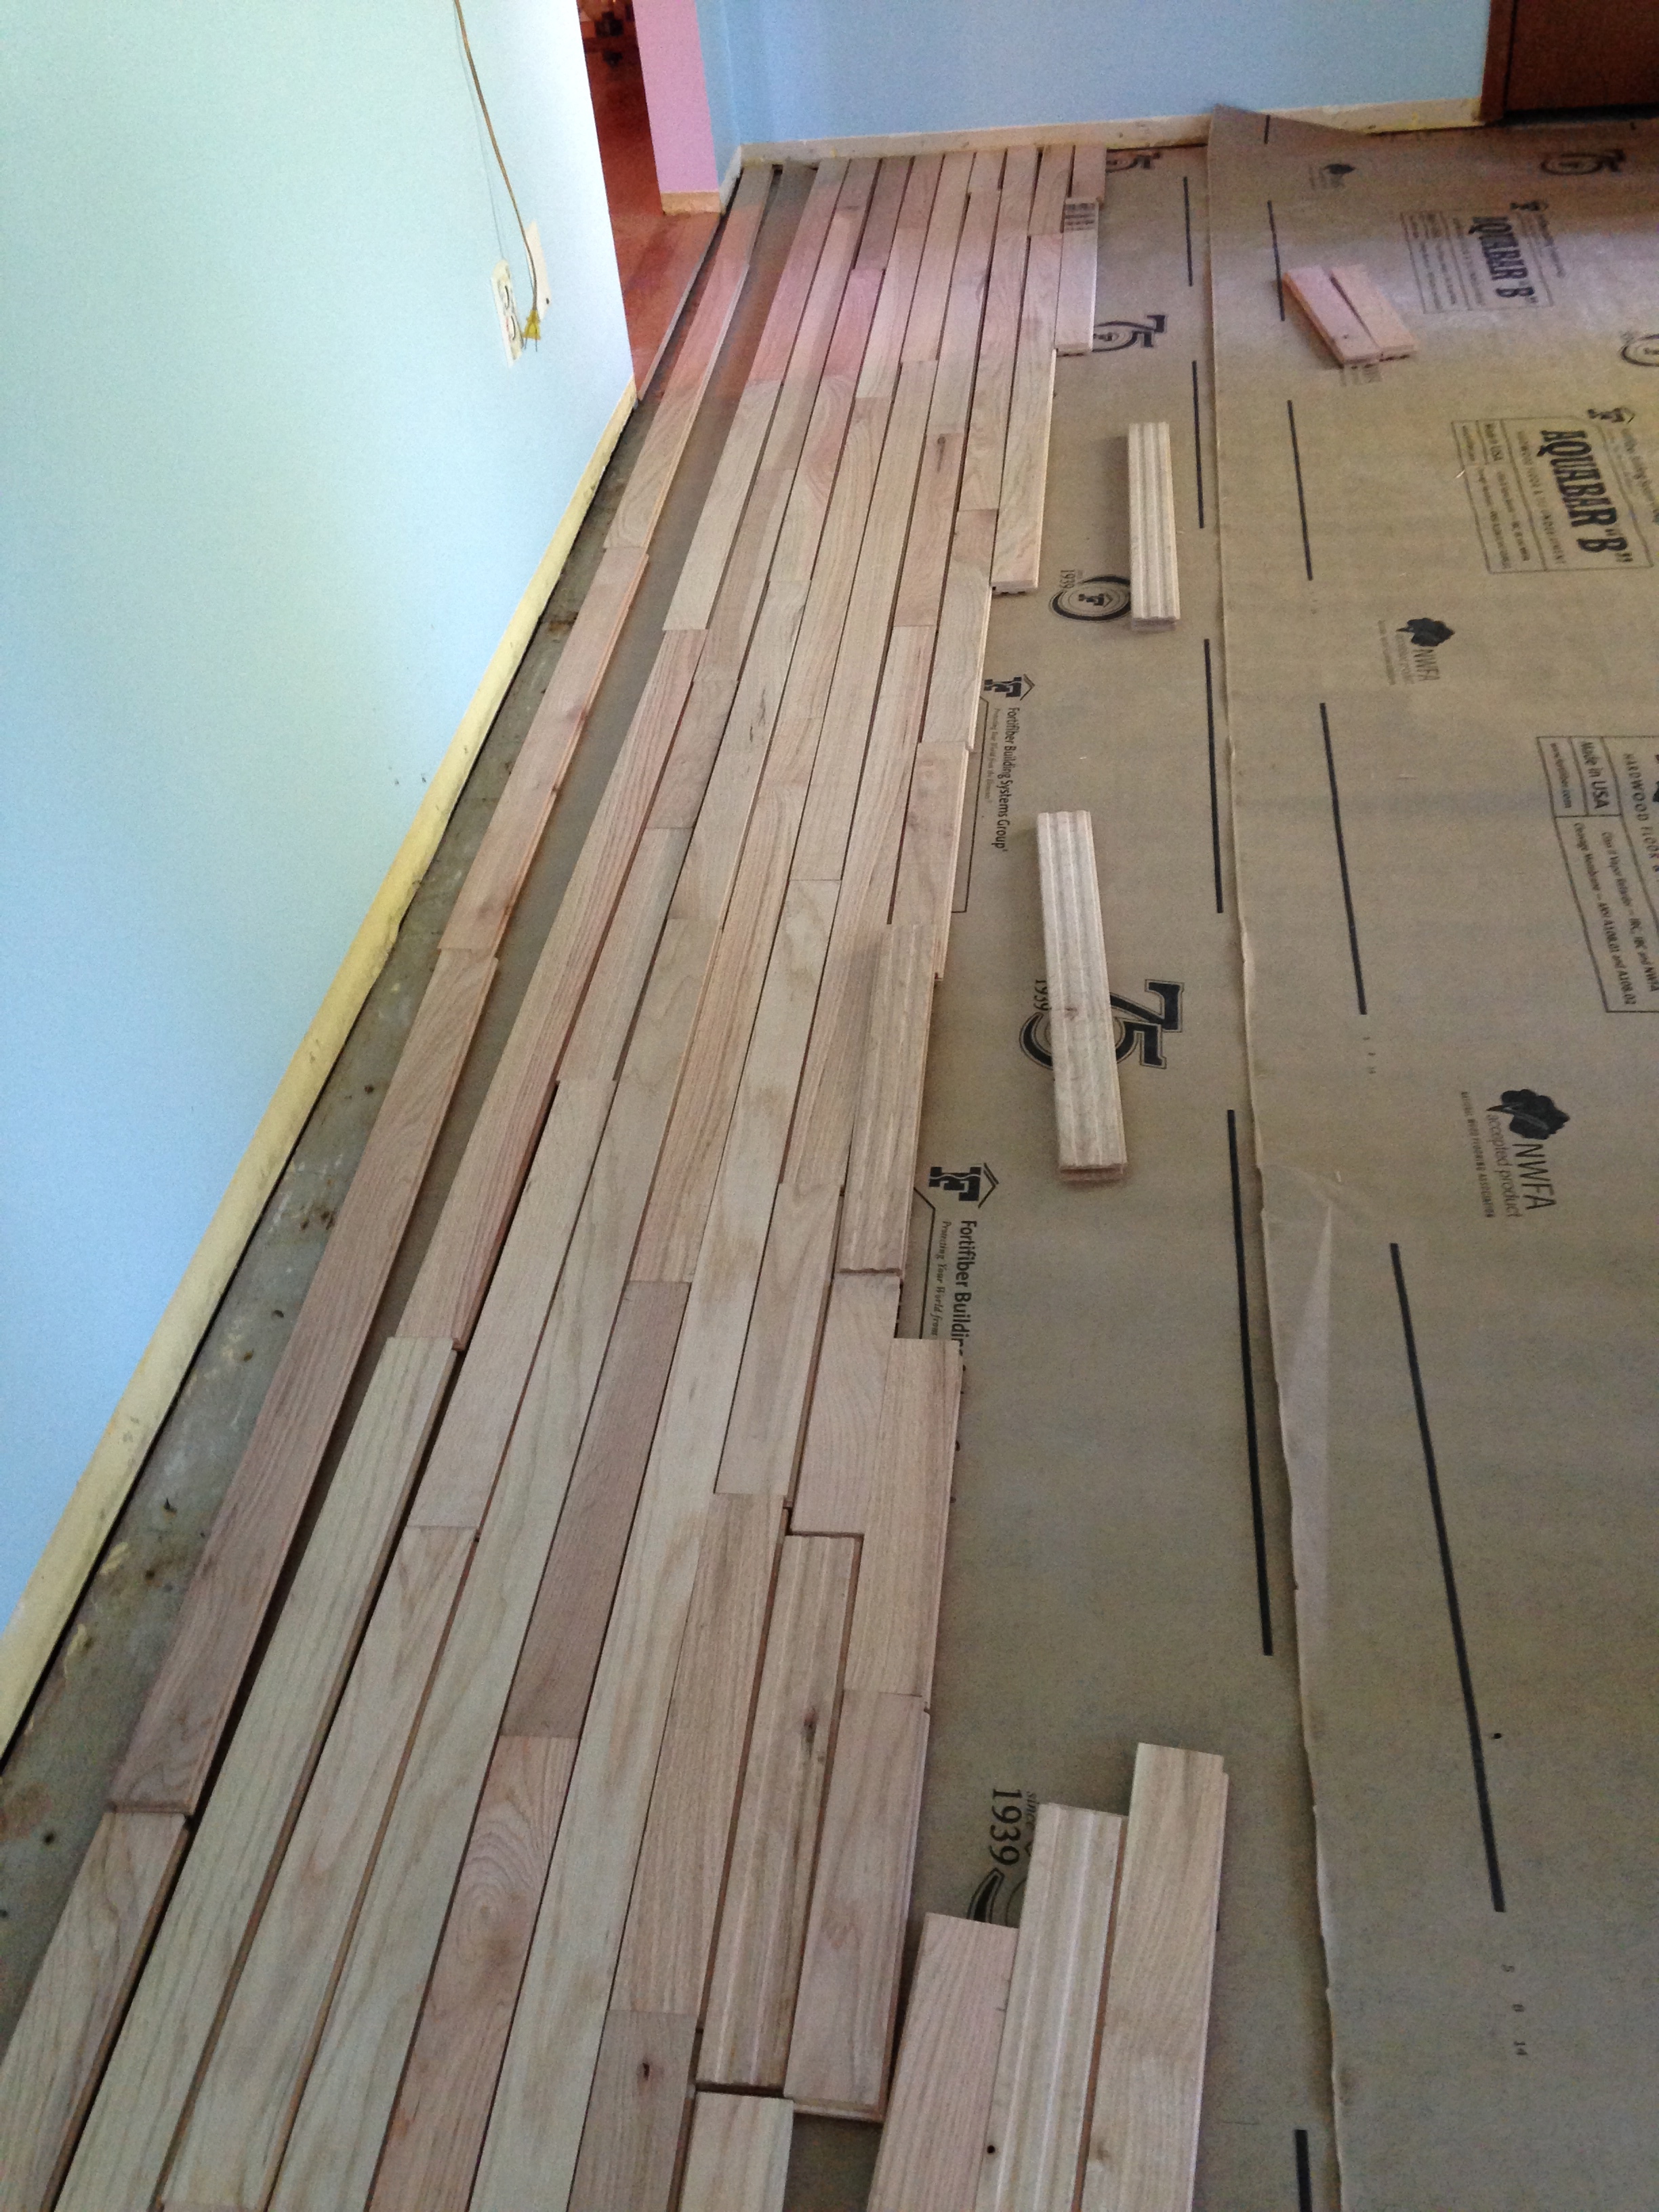
To begin the installation process, Artur first lays down a moisture barrier. Then, before nailing down the boards, he sorts them out in a way that looks balanced and nice, both in color variation and board length. See below.

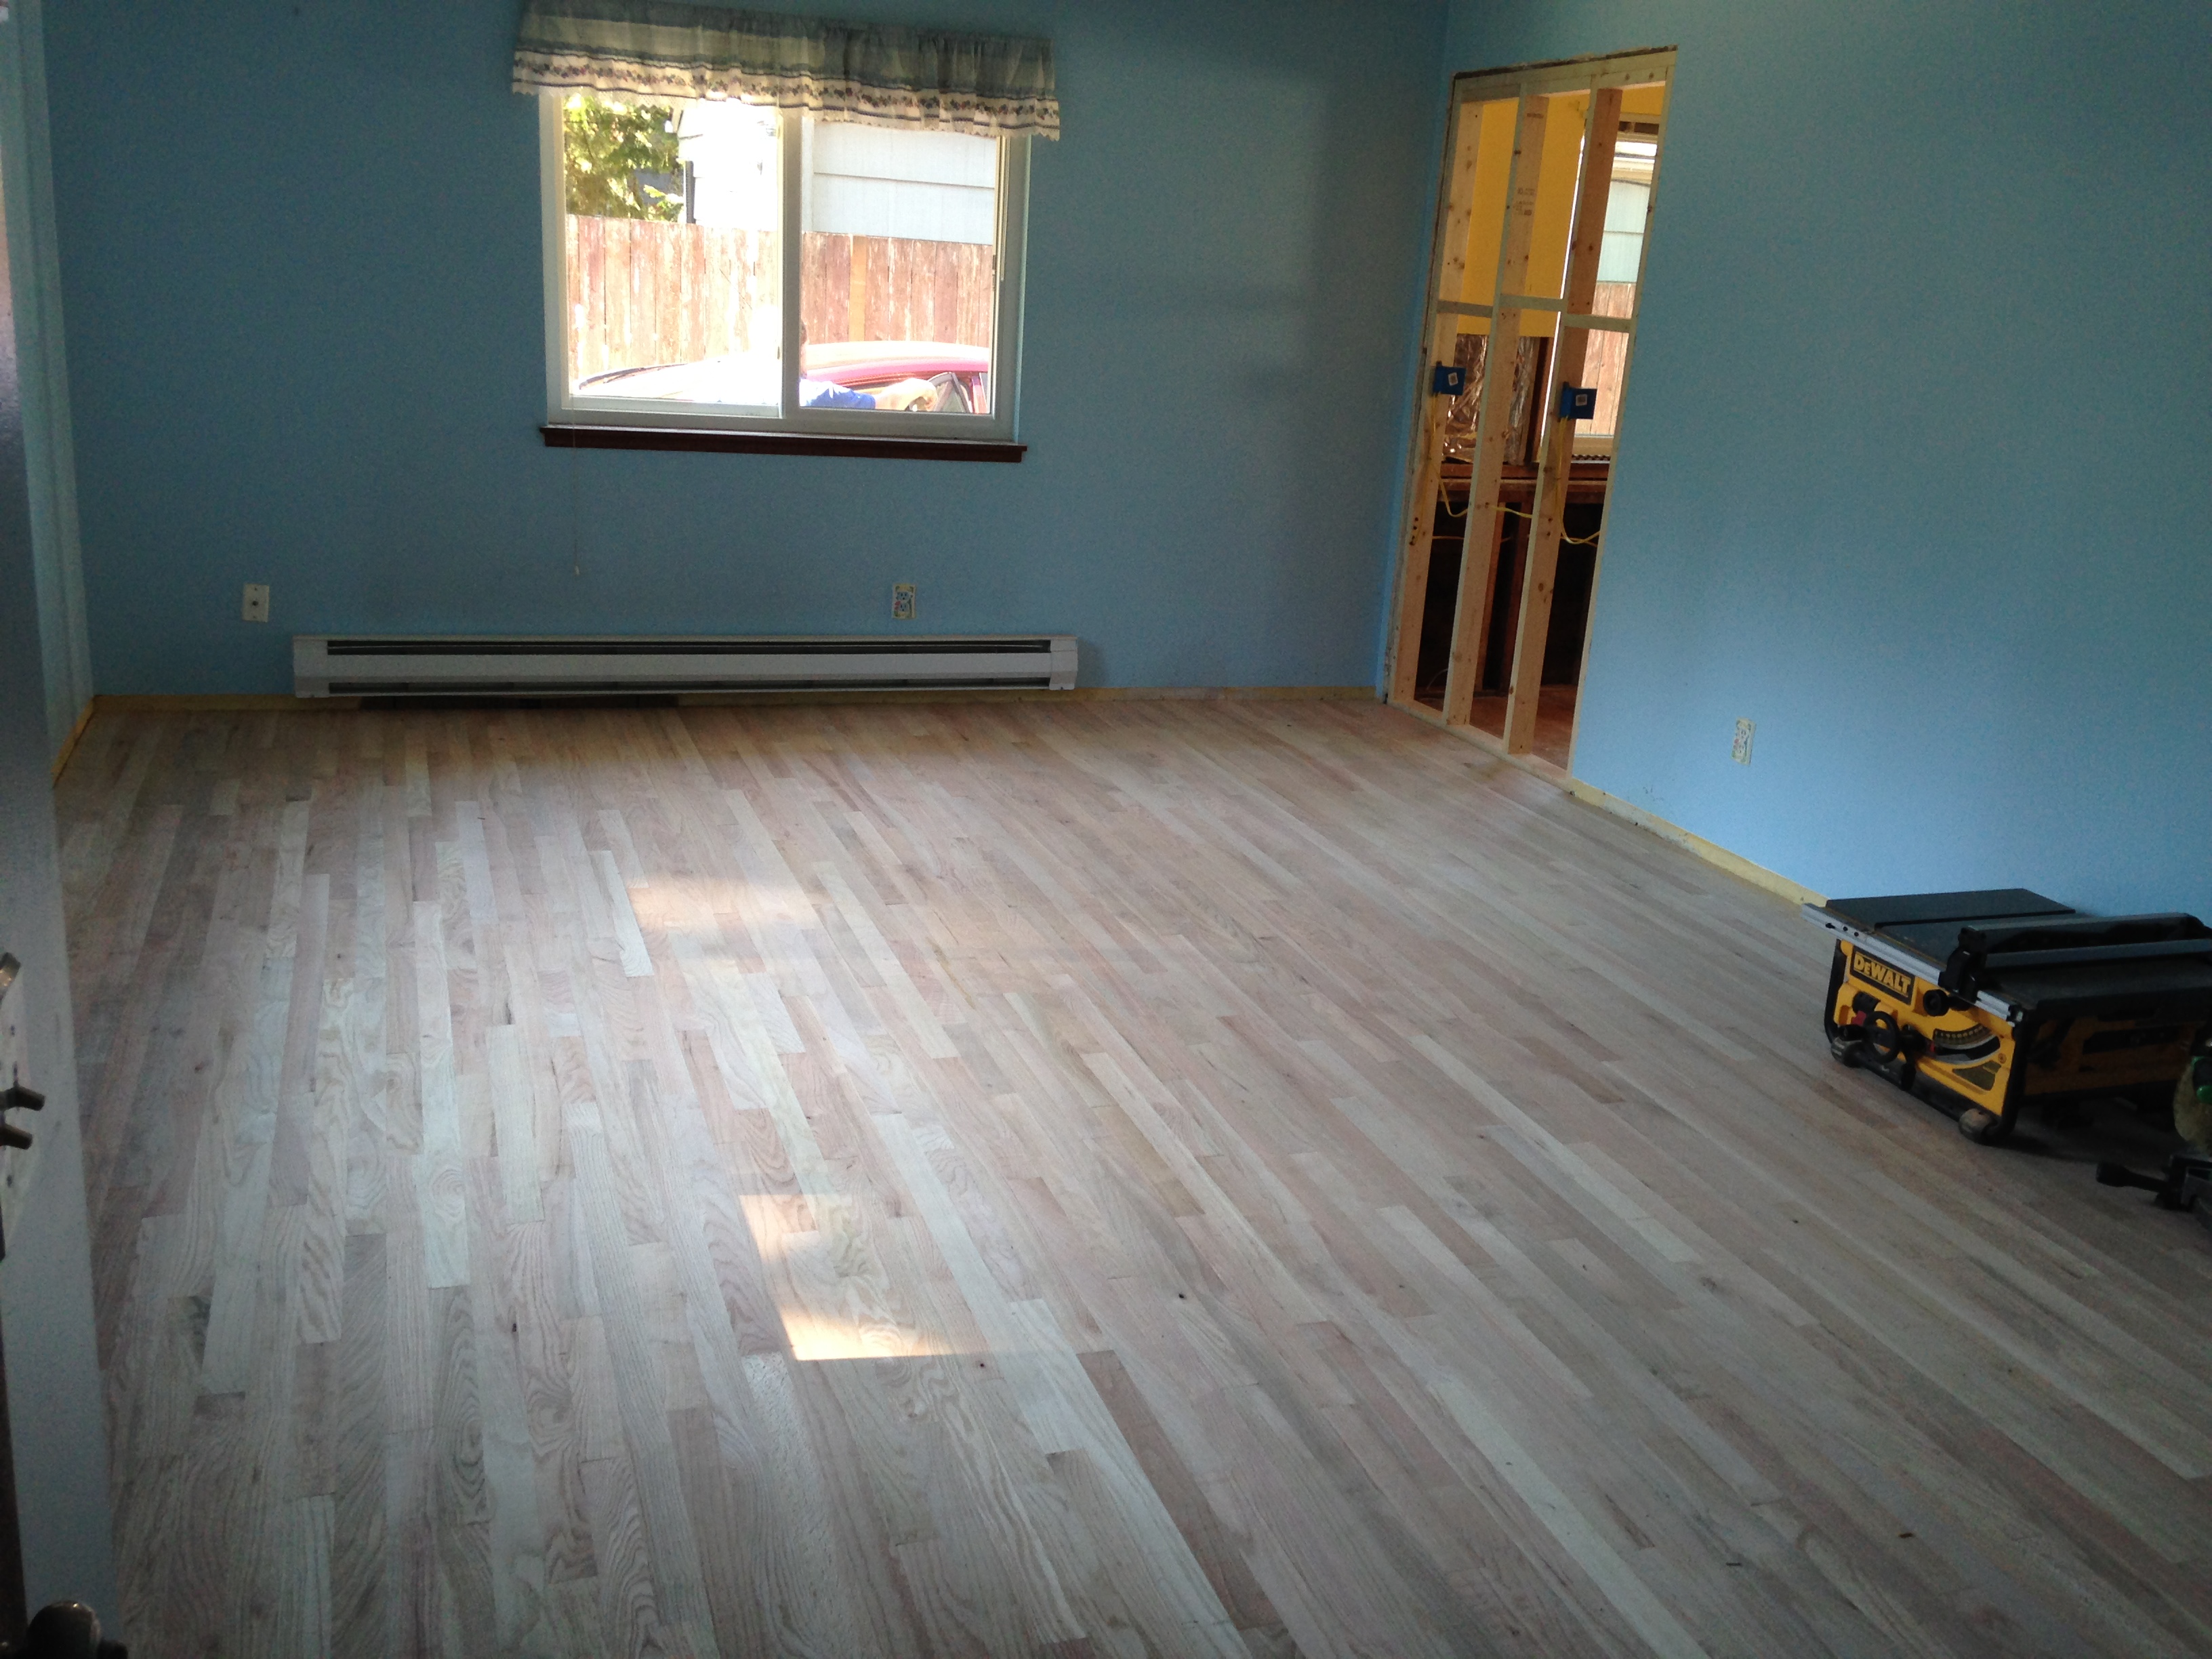
Here are photos of the kitchen and living room after the floors have been installed but before staining and finishing.


The stain we choose was Provincial from Daly’s. We love how the stain pulls out the character in the wood, ties in the red and white oak, as well as adding a richness to the floors without being too dark.
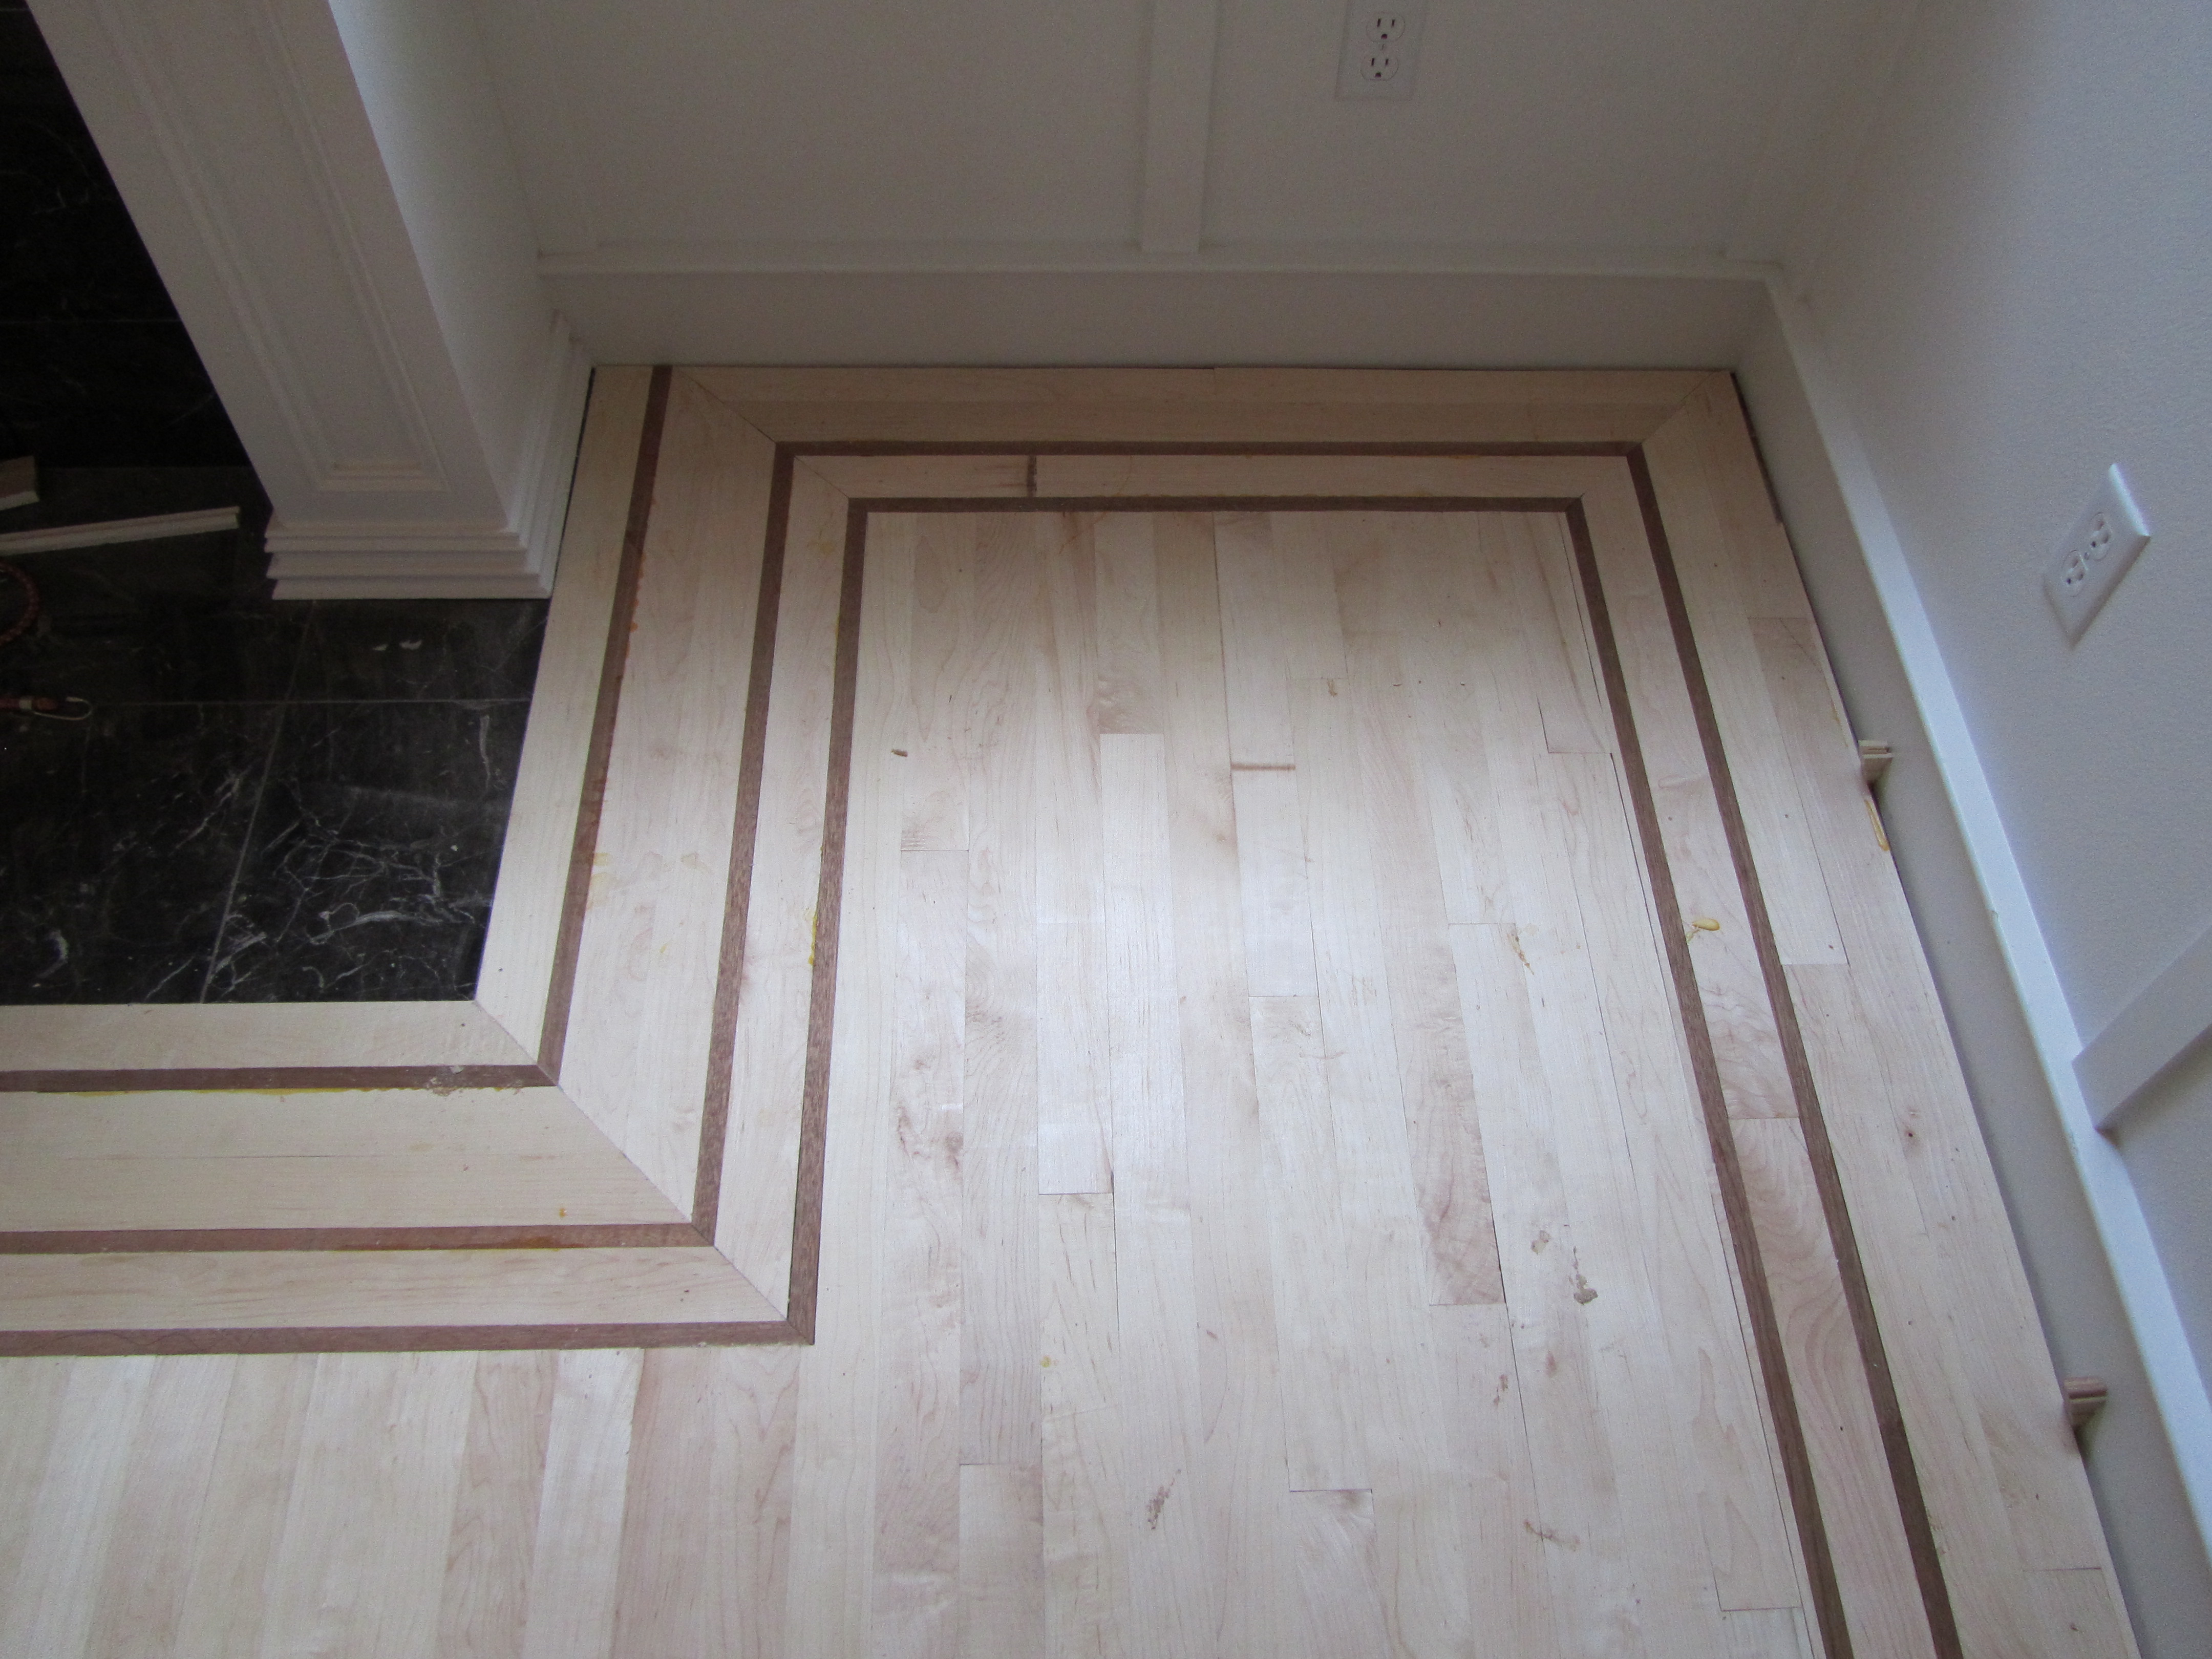
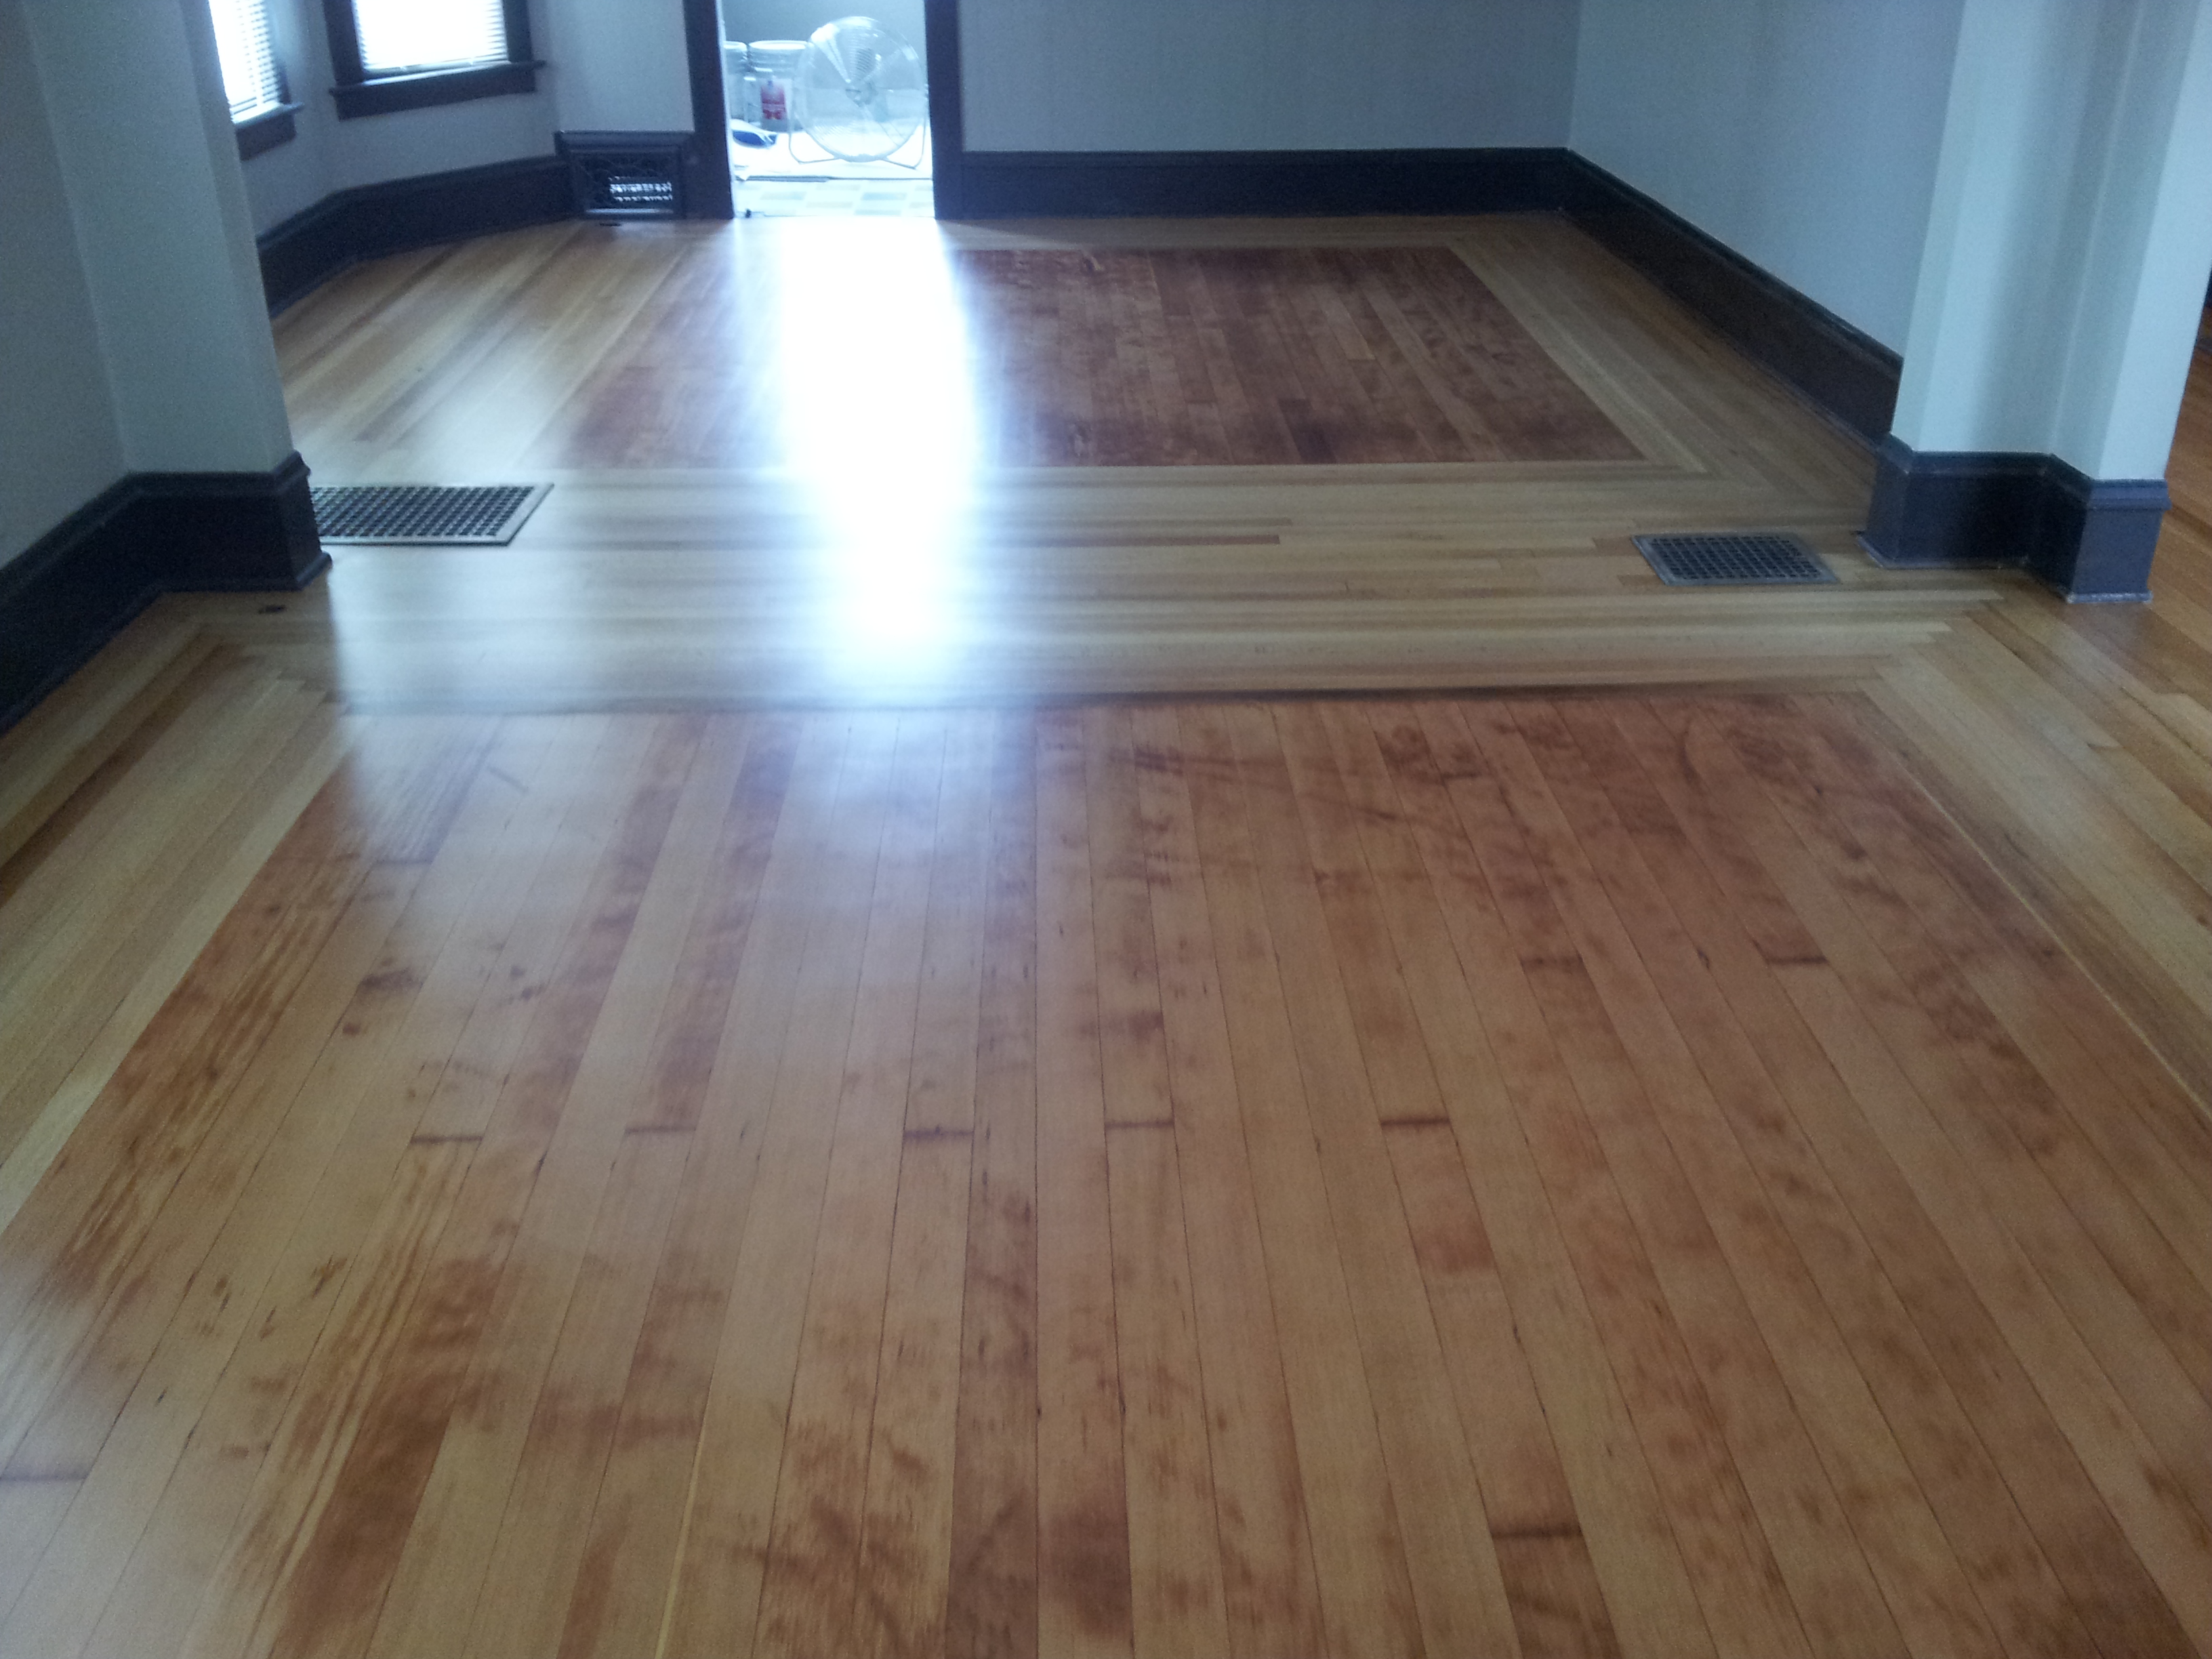
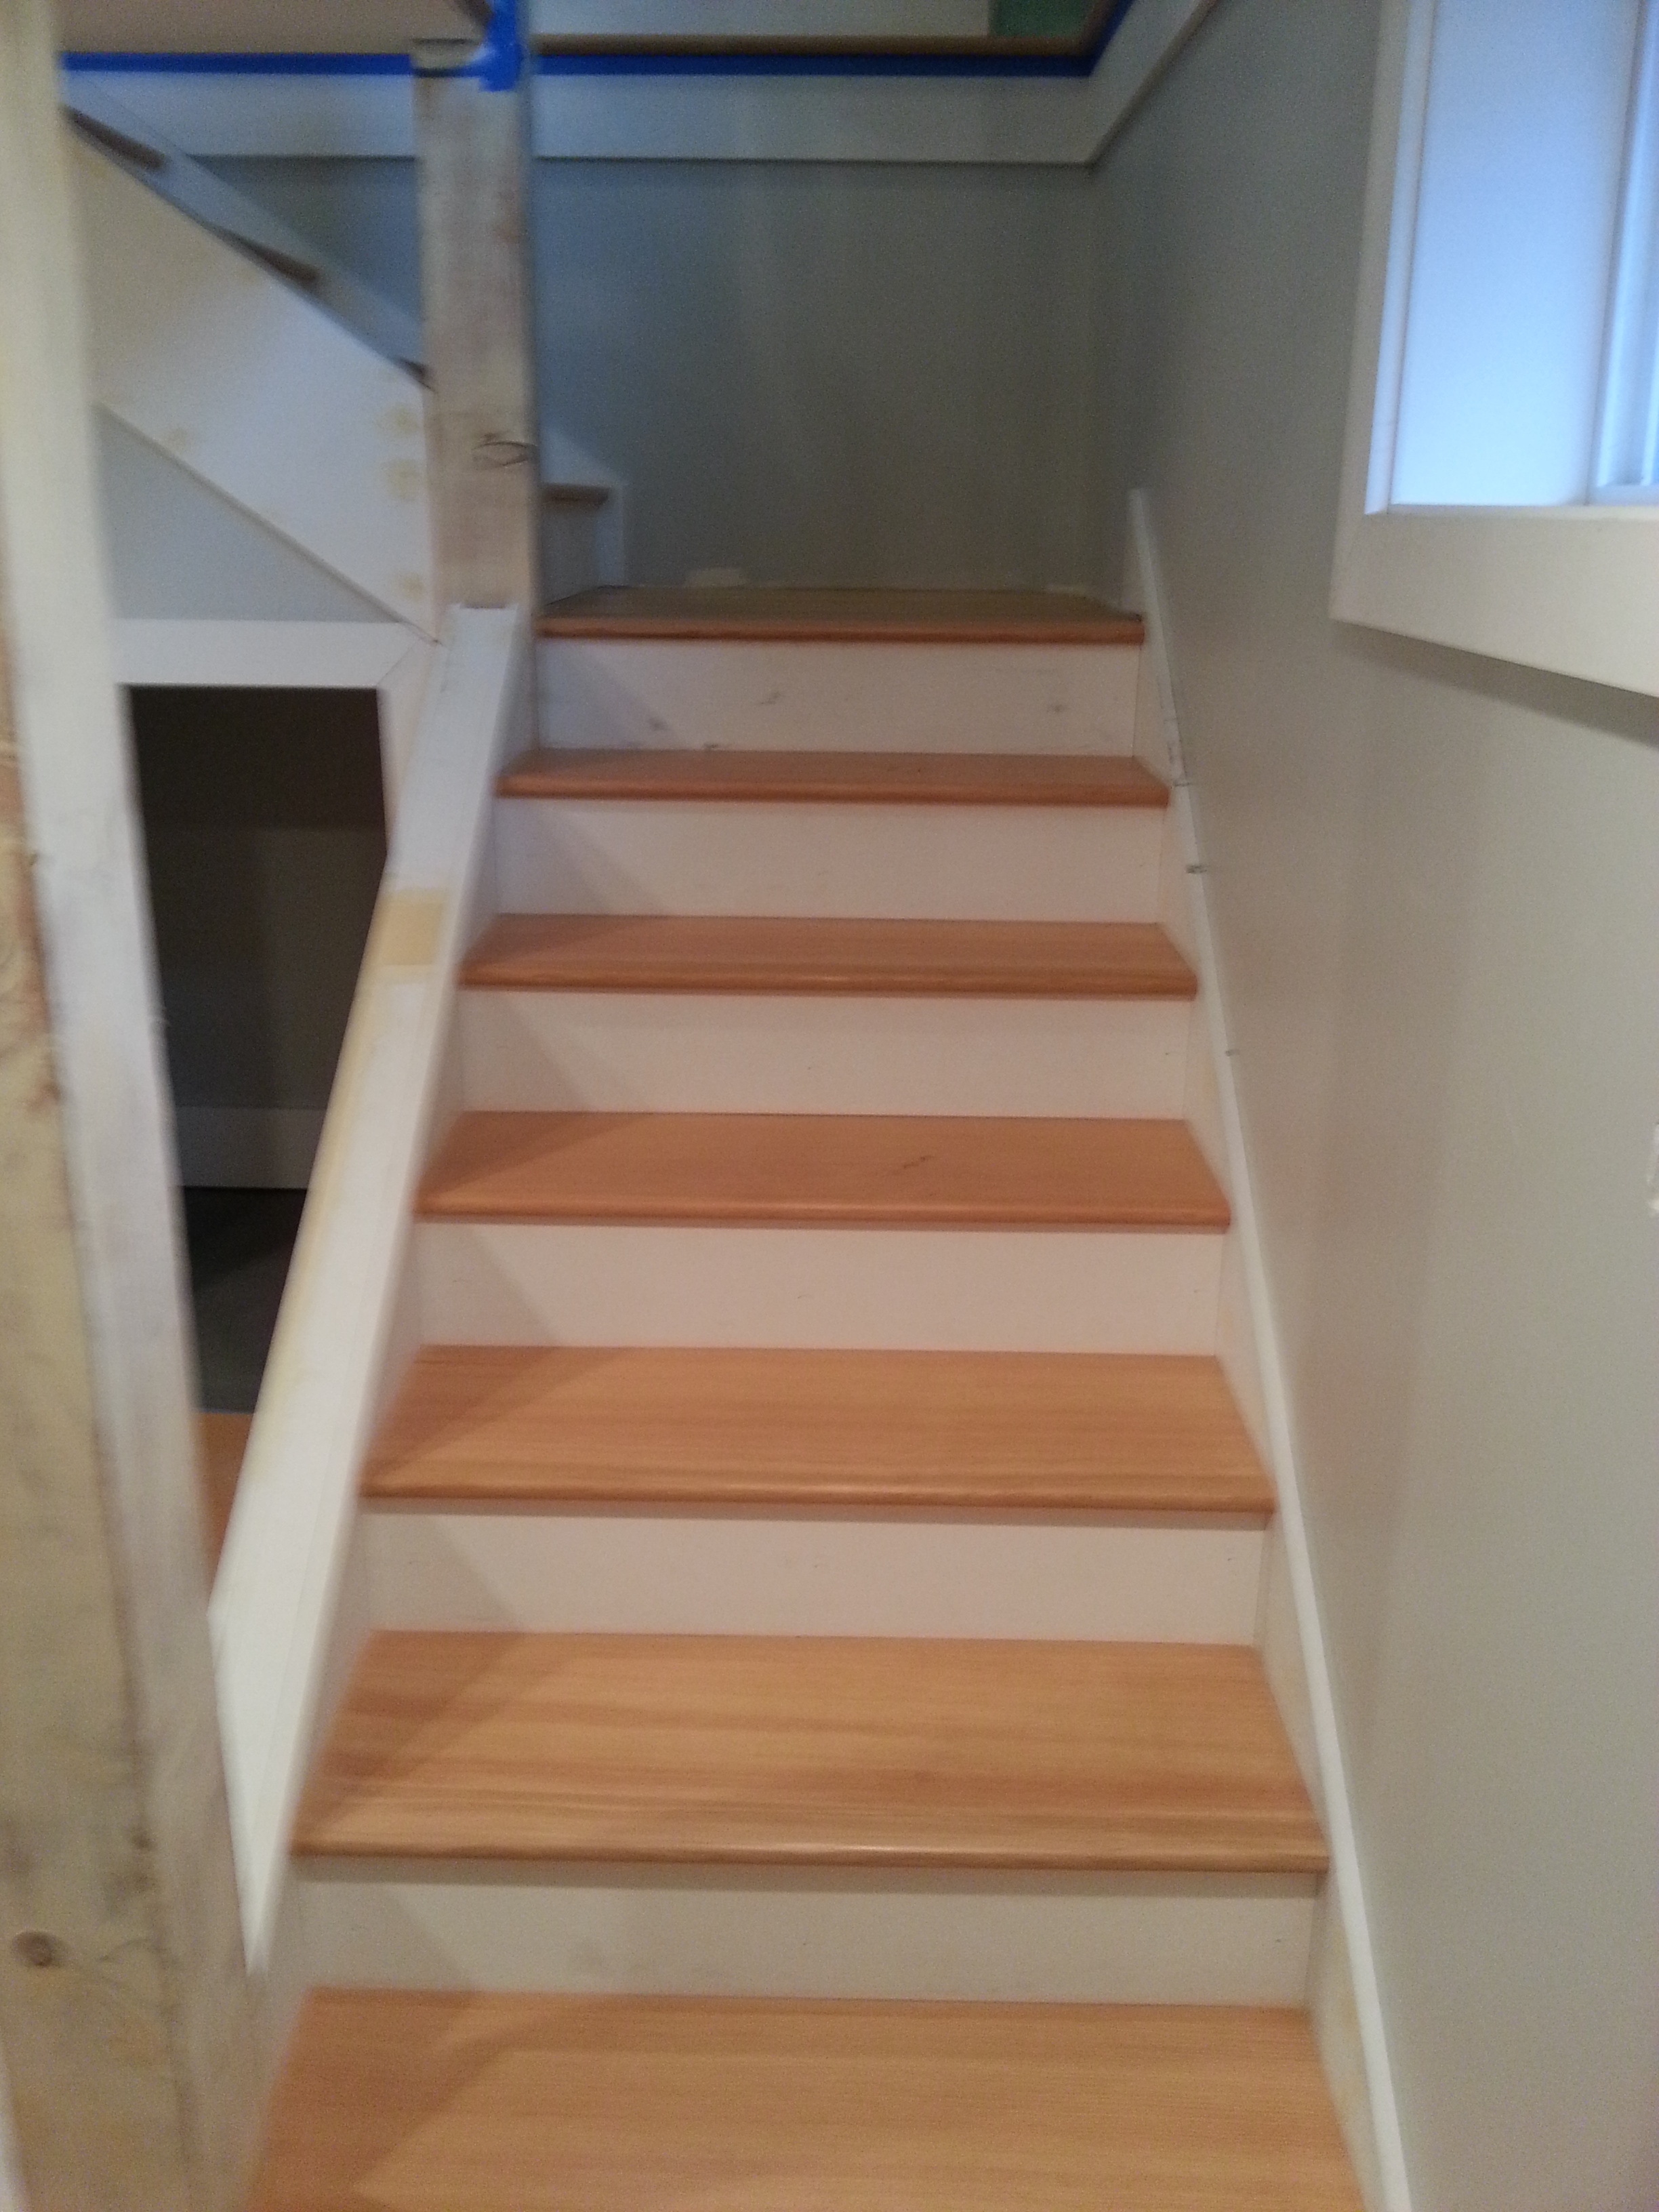
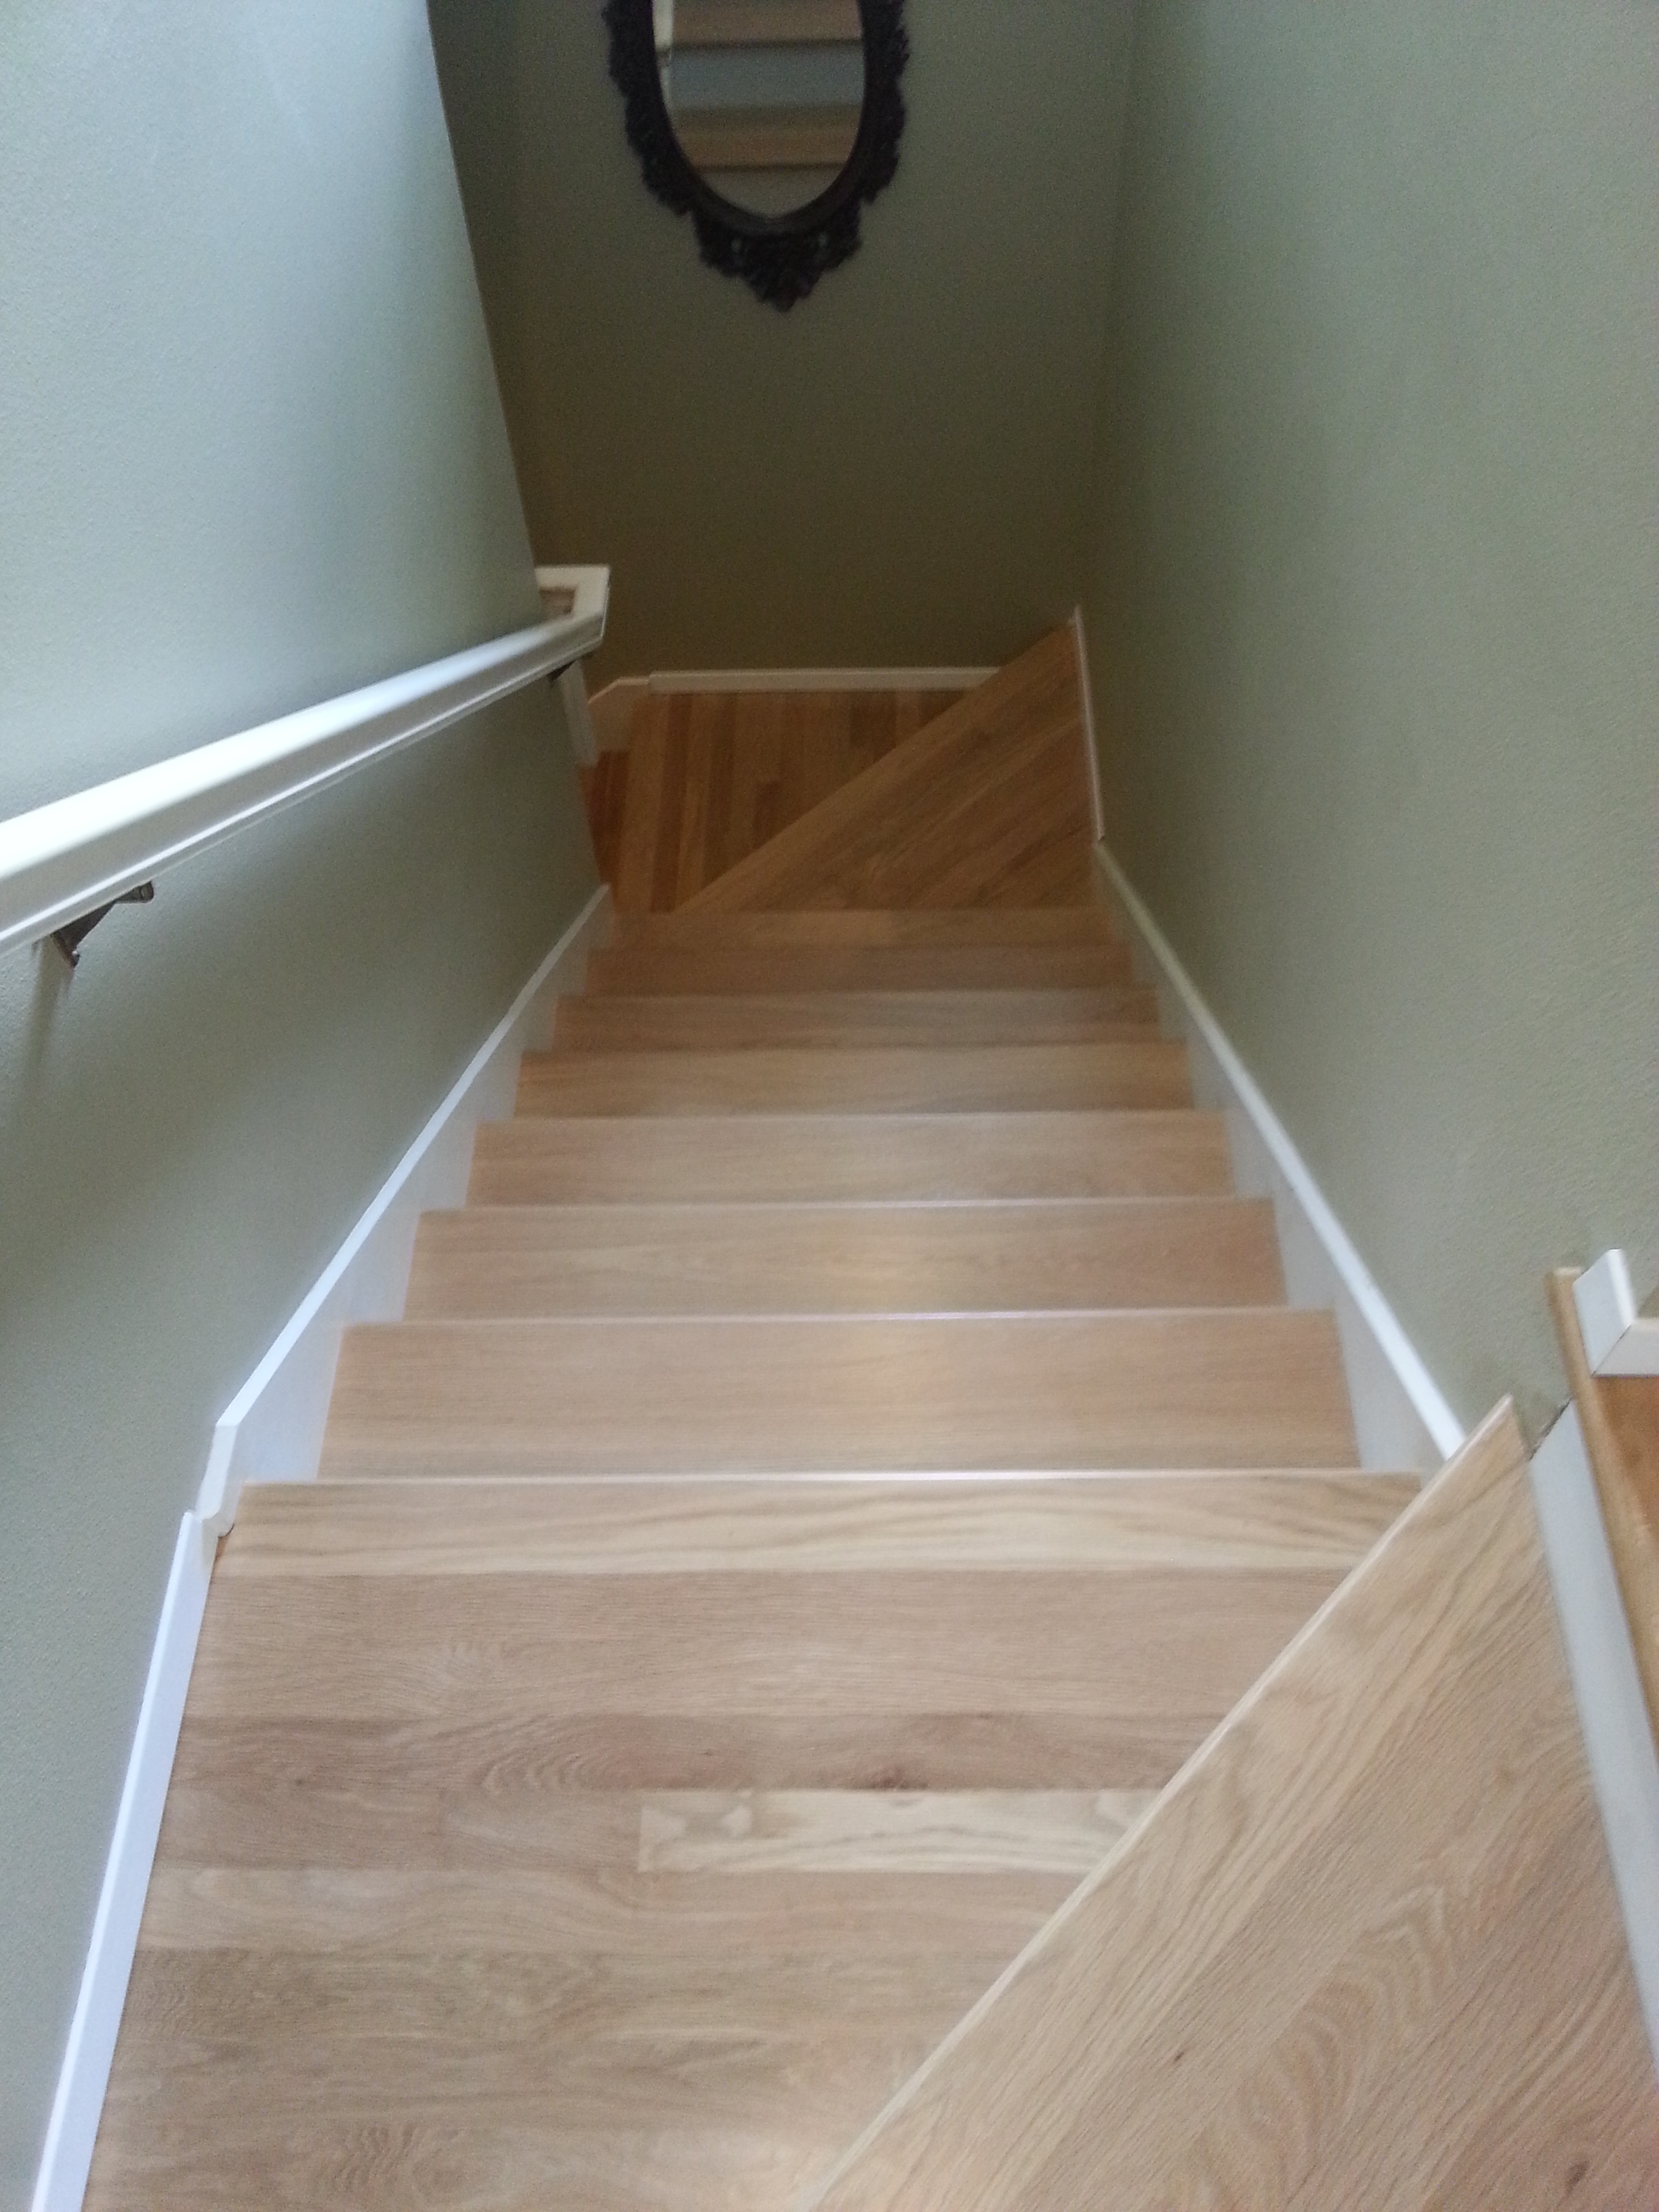
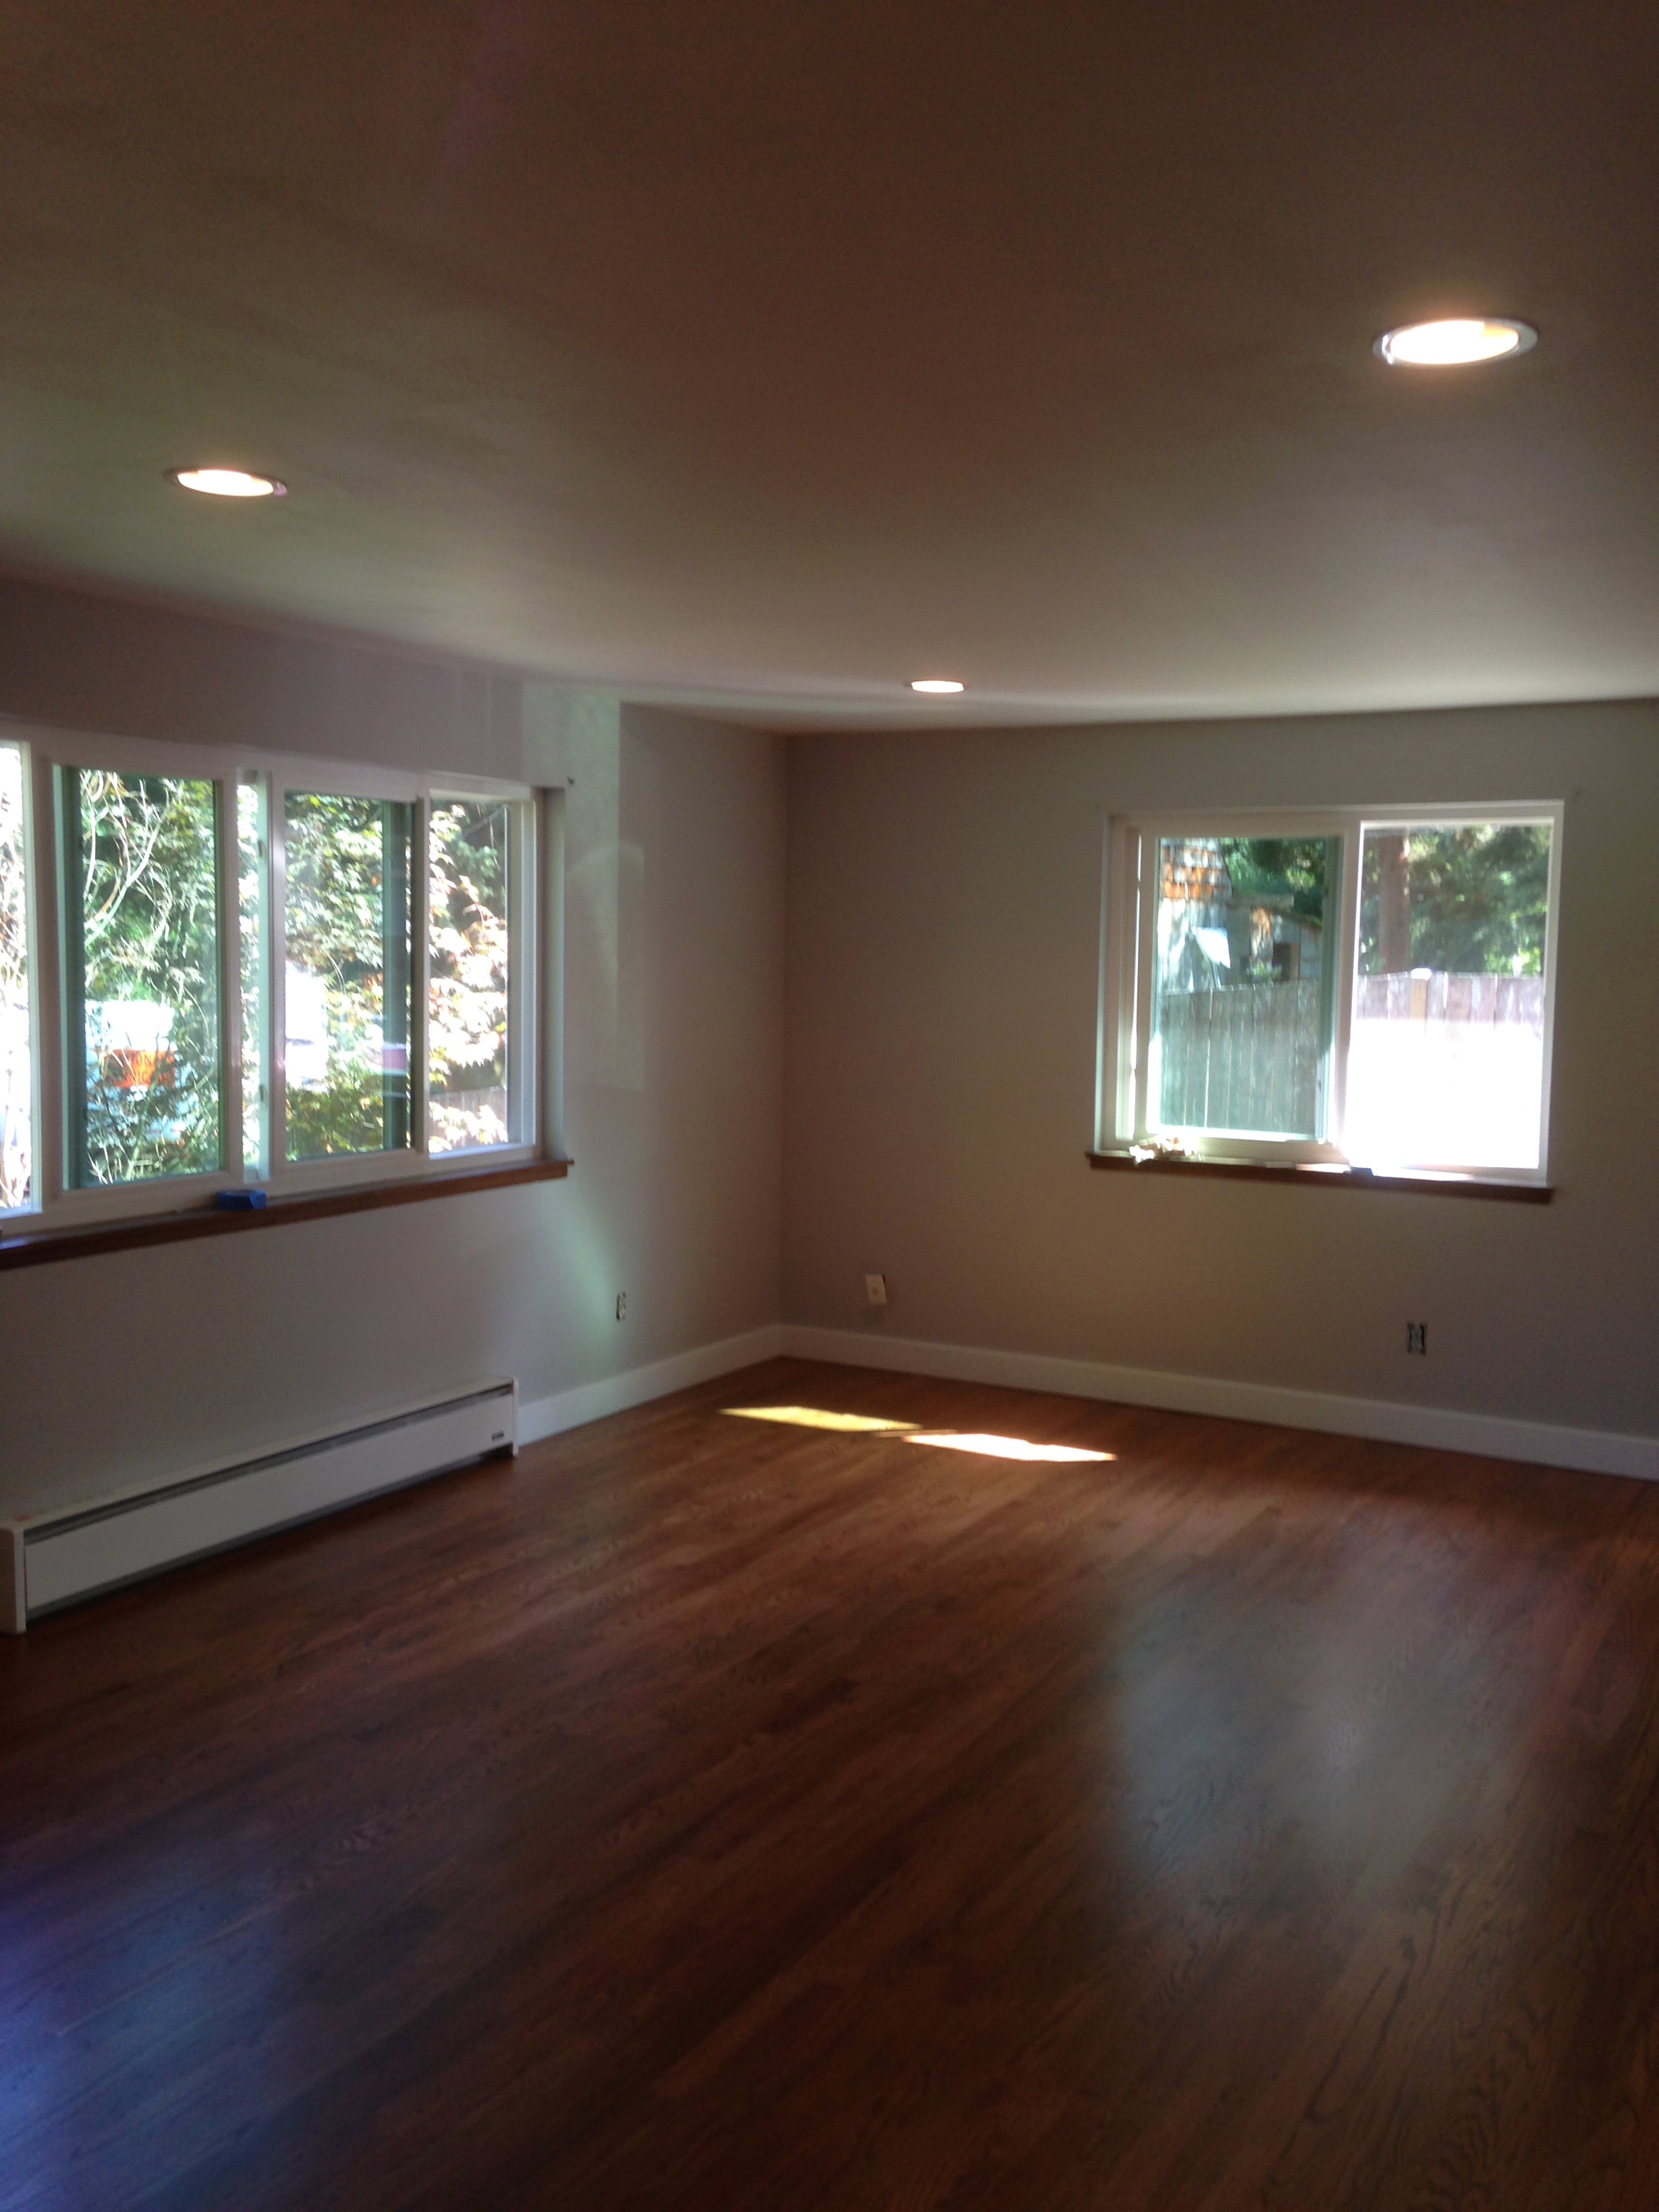
Here are the floors after being sanded, covered with a layer of filler (always necessary), sanded again, stained and finished with three coats of Swedish Finish.
Living Room – After


Kitchen – After


A side-by-side view of the before and after of the kitchen floors:


A side-by-side of the before and after of the living room floors:


We love how the floors turned out! Although we have worked with many many clients as they navigate decisions about their hardwood floors in their own homes, we hadn’t ever gone through that process personally. After this experience, we now feel that much more knowledgeable and prepared to help our clients as they make decisions regarding their hardwood floors.
Coming soon, more personal experiences from the Project Planeta Remodel and why you should always do your thorough research before hiring a contractor.


![image[5]](https://planetaworks.com/wp-content/uploads/2014/04/image5.jpeg)