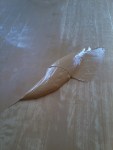
After seeing the before and after shots of the job that Artur recently finished at a house in Magnolia, my first thought was, “WOW” and and then, “I’m married to a magician.” Take a look at the before.  This parquet floor was under some carpet in a bedroom. Artur knew that there was parquet, but as is often the case when carpet is involved, he did not know of the stain damage and the lack of parquet along the border in this particular corner. It was kind of a mess.
Normally, parquet comes in pre-made squares which you install section by section rather than installing each short, individual board. Because Artur wasn’t aware of all of the patching needed on these floors, he hadn’t called around to check on the availability of the pre-made parquet squares in White Oak before starting this job. As these things can go, none of the distributors in town had any in stock.
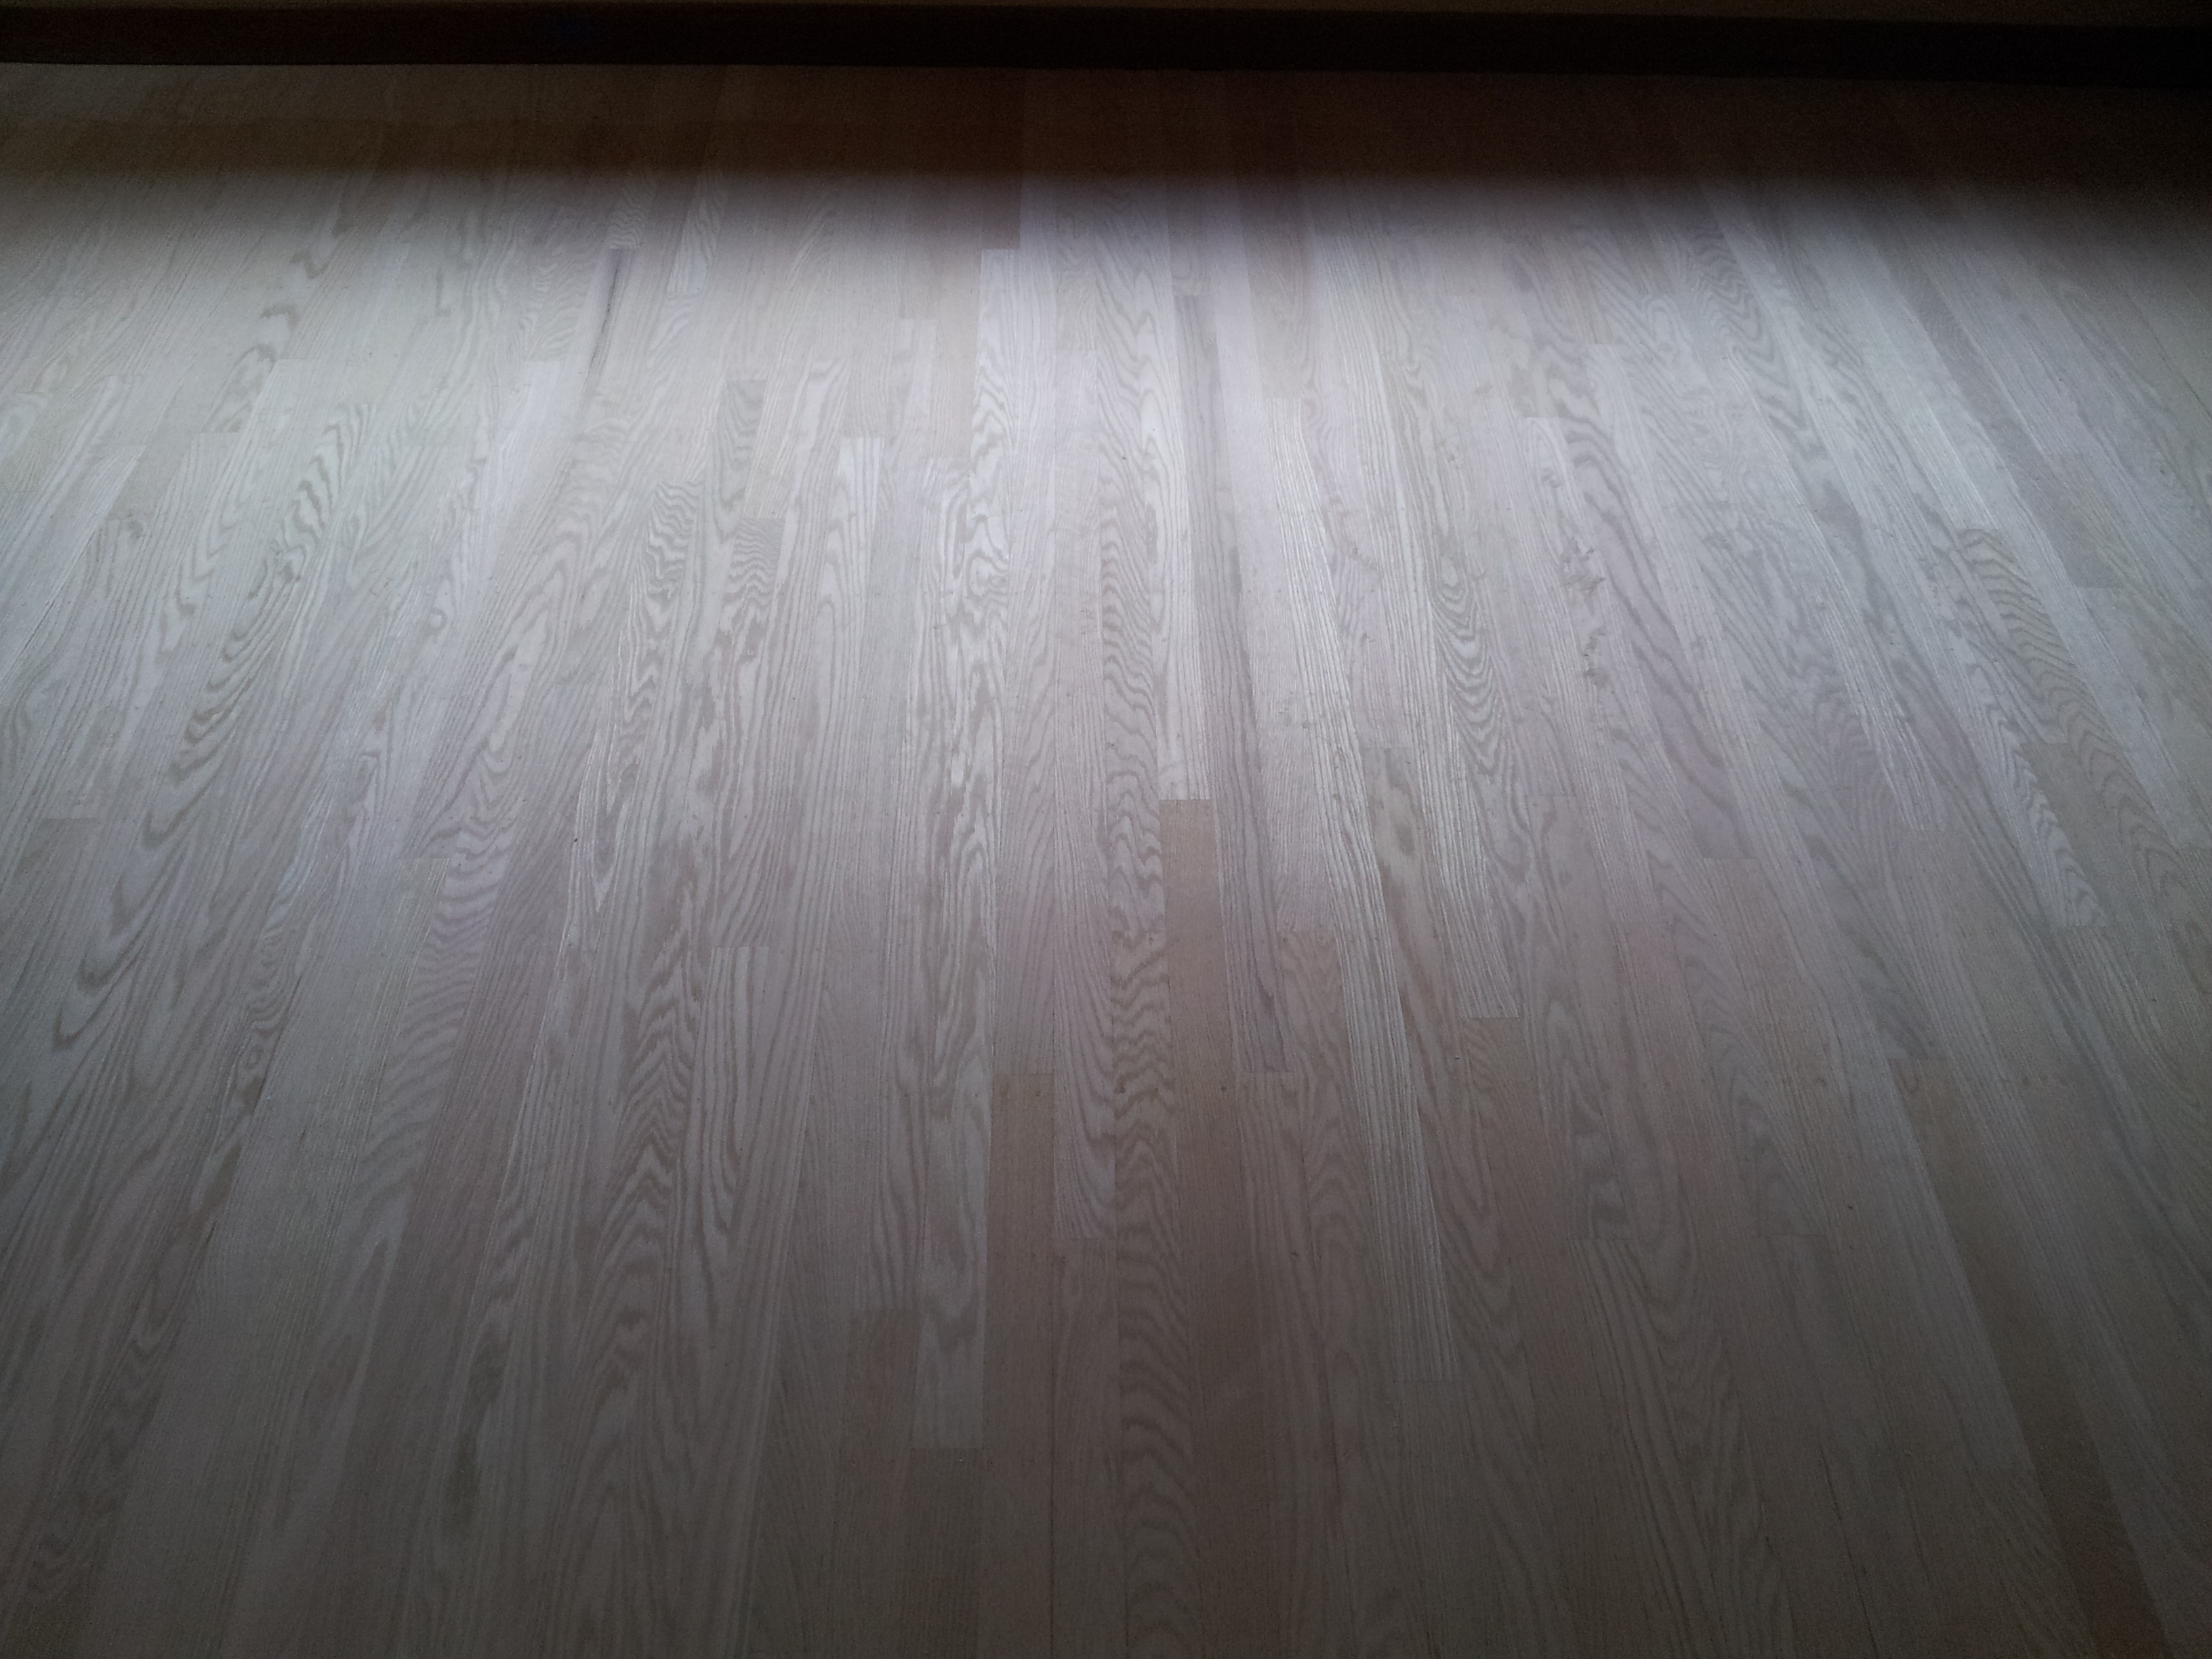
Artur had two options. The first being to order the parquet squares, put the job on hold, inconvenience our client and throw our work schedule out of whack, or hand cut each small board needed to make the parquet squares, piece by piece by piece and then install them piece by piece by piece. He chose the second (and only real) option — 350+ hand cut pieces of White Oak later, and a lot of patience and attention to detail, the floors were complete. Here is the stunning and beautiful result.  Our clients are very happy and so are we. This isn’t magic, it’s an example of Artur’s skill, expertise, experience, patience, attention to detail and pride in his work. It’s one example of why he is considered one of the best wood floor experts in Seattle.
To quote our client, “Wow is an understatement! We are so pleased. You are married to a terrific professional. Of course, you know this.”
Yes, I know this. Artur is happy someone pointed this out to me in writing, at last!
One more before/after shot.